Are you finding podcast setup ideas? Are you ready to take your podcasting to the next level? Let’s set up your ideal podcast recording studio following these tips!
Contents
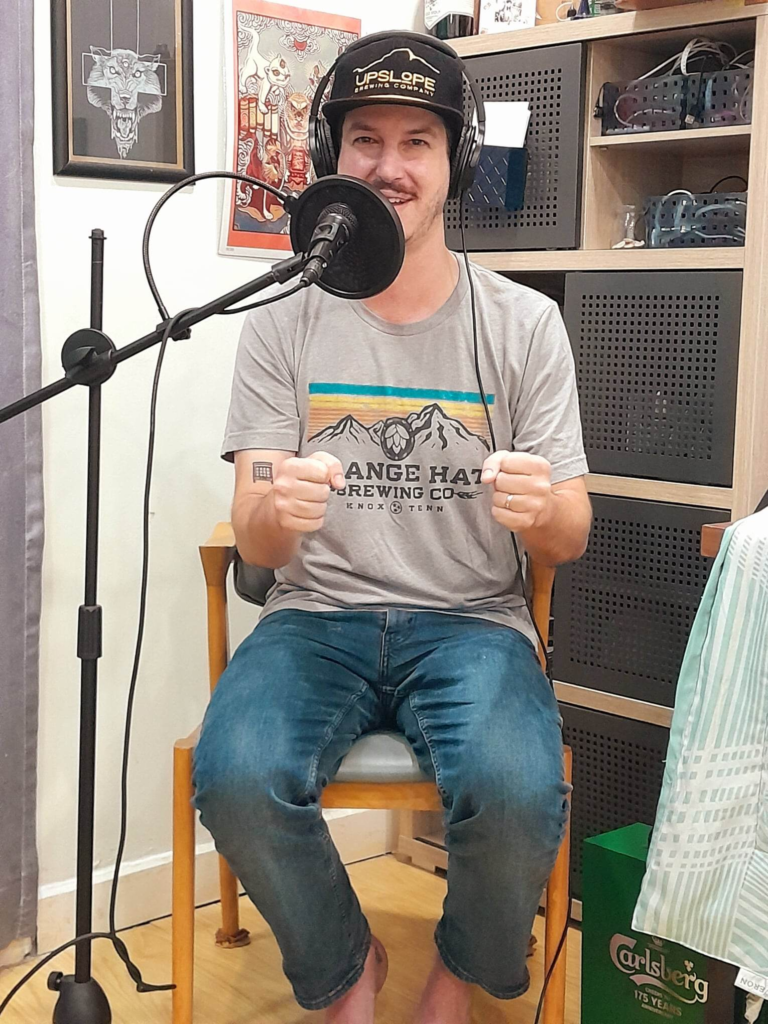
Having a quiet recording space to make a podcast is important because it helps to eliminate unwanted background noise that can distract or disrupt you. Unwanted external noise can come from various sources such as traffic, people talking, or any other ambient sounds.
When making a podcast, you want your voice to be the main focus, so it’s important to minimize any other sounds that could interfere. A quiet space will also help give better sounding audio, making it more professional and enjoyable for your listeners.
In addition, a quiet space can help you to concentrate and avoid distractions, which can be especially important for a podcast host, co-host, and guest. It’s important to create a podcast studio setup that is conducive to effective communication and collaboration during the recording process.
But what exactly do you need for a podcast studio? This post includes beginner-friendly tips to level up your podcast studio set up and the equipment required before you make a bigger investment in more expensive equipment you might not need.

Do you need a recording studio to record a podcast?
No, you do not necessarily need a recording studio to record a podcast. While having access to a professional studio can provide higher quality sound and equipment, many podcasters record in a home recording studio in their home or office.
It is important to have the right space with minimal background noise and good acoustics to ensure the best quality possible. Additionally, investing in a good quality microphone and recording software is the quickest and easiest way to improve the sound quality of your podcast.
Here are my tips to create a home podcast studio and quiet space to record your podcast for great audio quality.
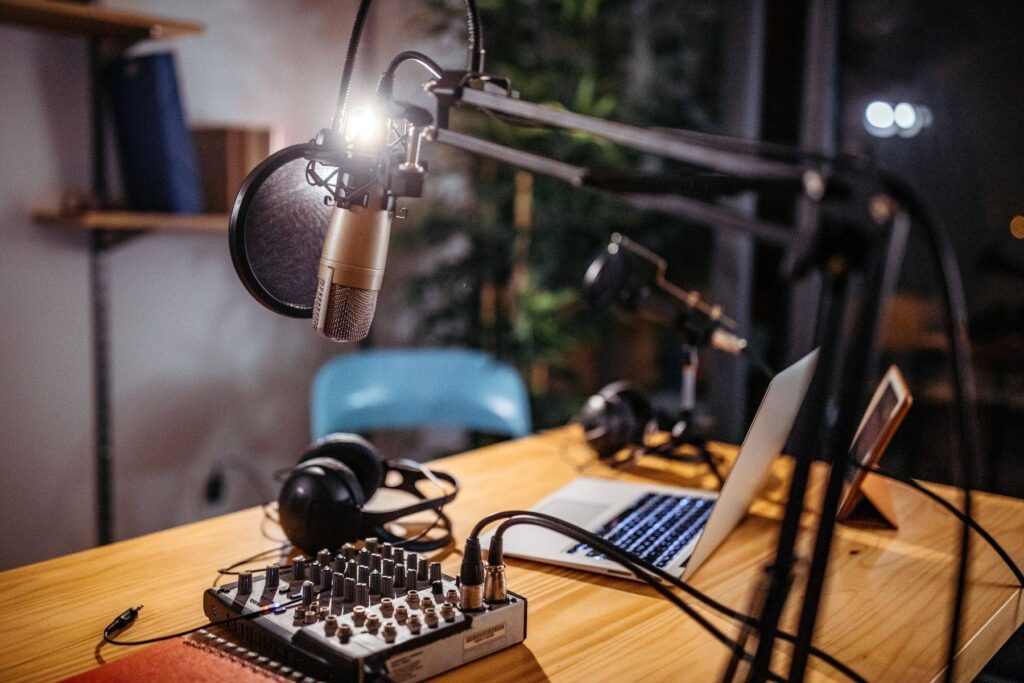
What Is Needed For A Podcast Studio?
Before you begin reorganizing your workspace or home for your podcasting space, be clear on what type of podcast you will start.
There is a big difference between podcasting and creating a YouTube channel. Generally, you will need similar set-ups for both types.
However, a YouTube channel requires more equipment such as clear lighting, a camera, a tripod, and extra memory cards for sound and visual recordings.
This article will focus on audio podcast-ing. Read on for my top podcast studio design tips for beginners, including all the equipment you’ll need with starting costs.

Essential Podcast Equipment In Your Podcast Studio
Here are some basic things most podcasters need:
- A quiet room
- Microphone
- Audio interface
- Computer
- Editing software
- Headphones
- Pop filter
- Mic stand
- Acoustic treatment
These are some basic things you would need for your own podcast setup if you don’t have access to a professional podcast studio. The cost of these items can vary depending on the quality and brand you choose, but you can start with a modest budget and gradually upgrade as you grow your podcast.
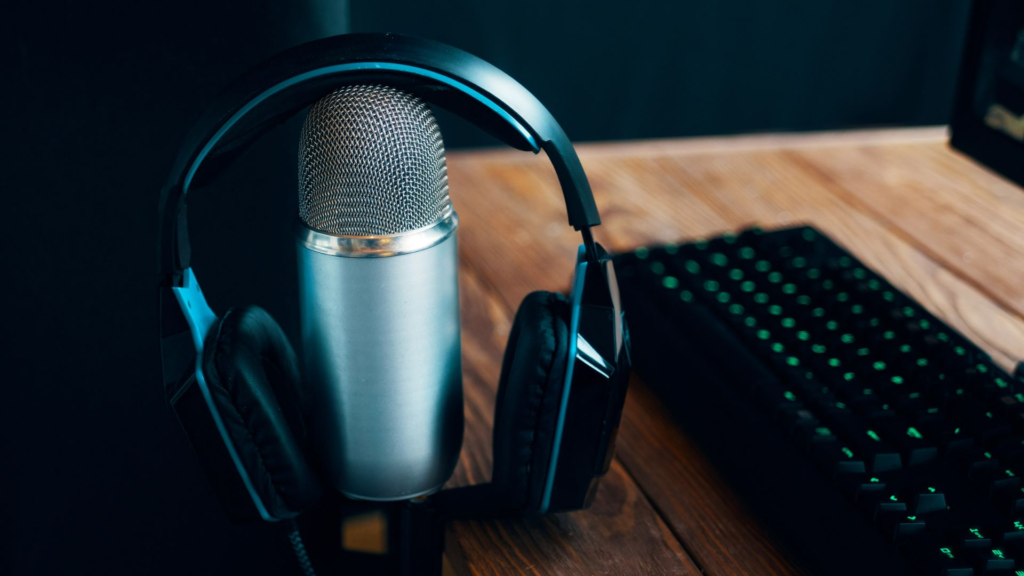
- A Quiet Room
A space that is away from distractions and external noises is necessary to record good audio quality.
Before investing your time and equipment, decide if you have a spare room or space to set up your podcast studio. I understand that not everyone can afford a luxurious extra room for the sake of podcasting (I’ve been there!), but try to stay realistic with your expectations.
For example, you can start off with just in the corner of your bedroom or office, and if you’ve got extra income to spare, you can try to rent out a professional recording studio.
If you have a quiet corner in your room or a basement floor, I recommend choosing that spot. Ensure you keep the equipment out of direct sunlight if you live in a sunny place!
Plus, check if the corner of the room is quiet enough, and make sure you don’t share walls with loud neighbors or bathrooms. You should keep your corner as quiet and calm as possible to record your podcast episodes smoothly and professionally.
- Microphone
How will you record a podcast without a microphone?
You can use a USB microphone or an XLR microphone.
These can be broken down further into two categories, condenser mics, and dynamic mics.
I recommend you use an XLR condenser microphone such as the Shure SM57 as it is more sensitive and captures more detail than a dynamic microphone.
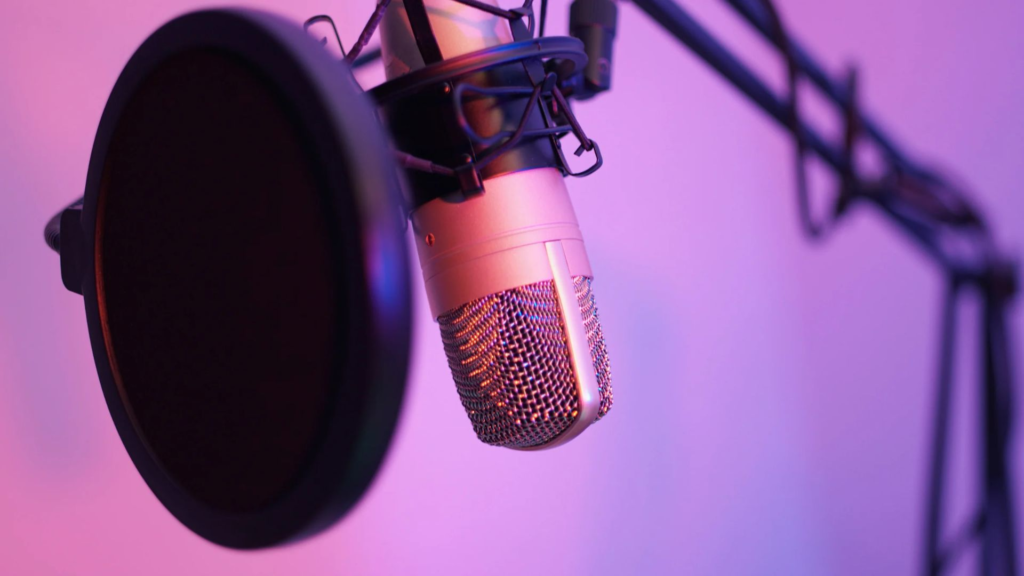
Read my recommendations for the best podcasting mic and if you have any questions just get in touch, I’ll be happy to help.
- Audio interface
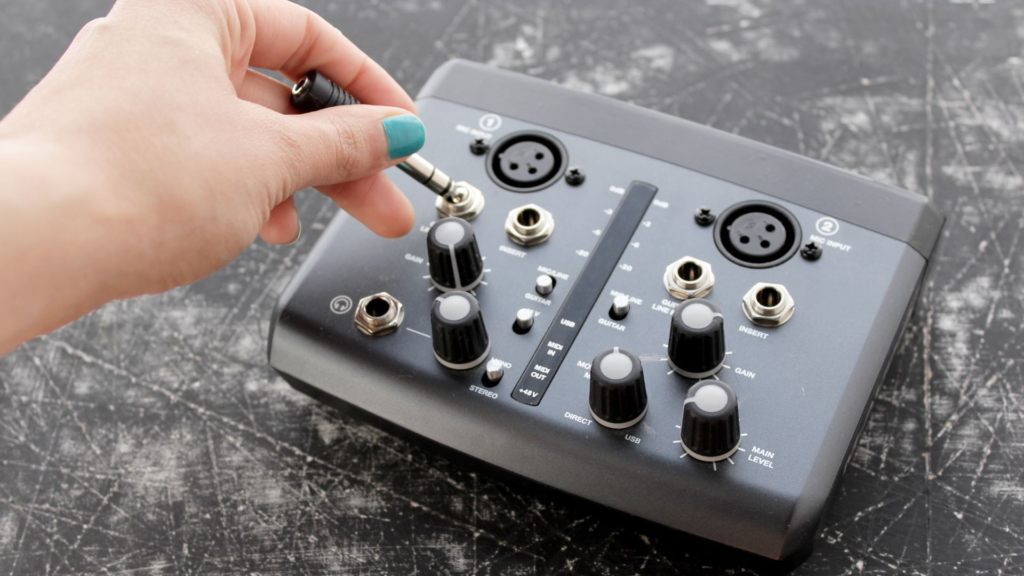
An audio interface is an essential tool for podcasting because it enables you to connect an XLR mic and other audio equipment to your computer.
This allows you to use external microphones and other audio equipment that provide higher-quality sound and greater control. Audio interfaces also typically have built-in preamps and other features that help you adjust and optimize the sound levels and quality.
Furthermore, audio interfaces typically provide more robust connectivity options, including XLR and 1/4″ inputs, which are standard in the podcast industry. This makes it easier to connect microphones with XLR cables and headphones.
- Computer
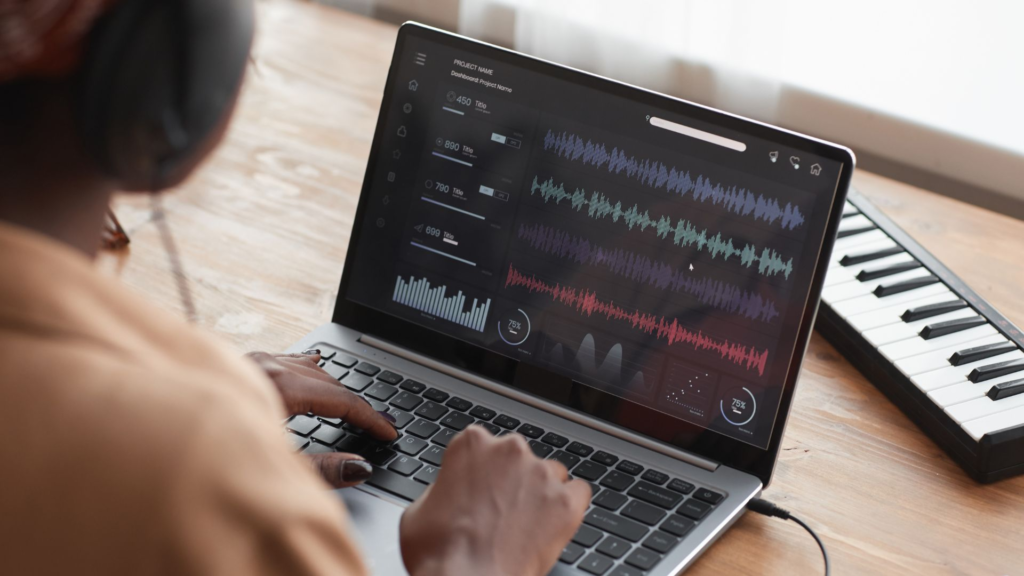
The most essential piece of equipment for your podcasting studio is your computer.
That is where all the magic happens, your podcast editing and publishing. Make sure your laptop is cleared up before you start recording hours of audio and know which audio editing tool you will use.
- Podcast editing software
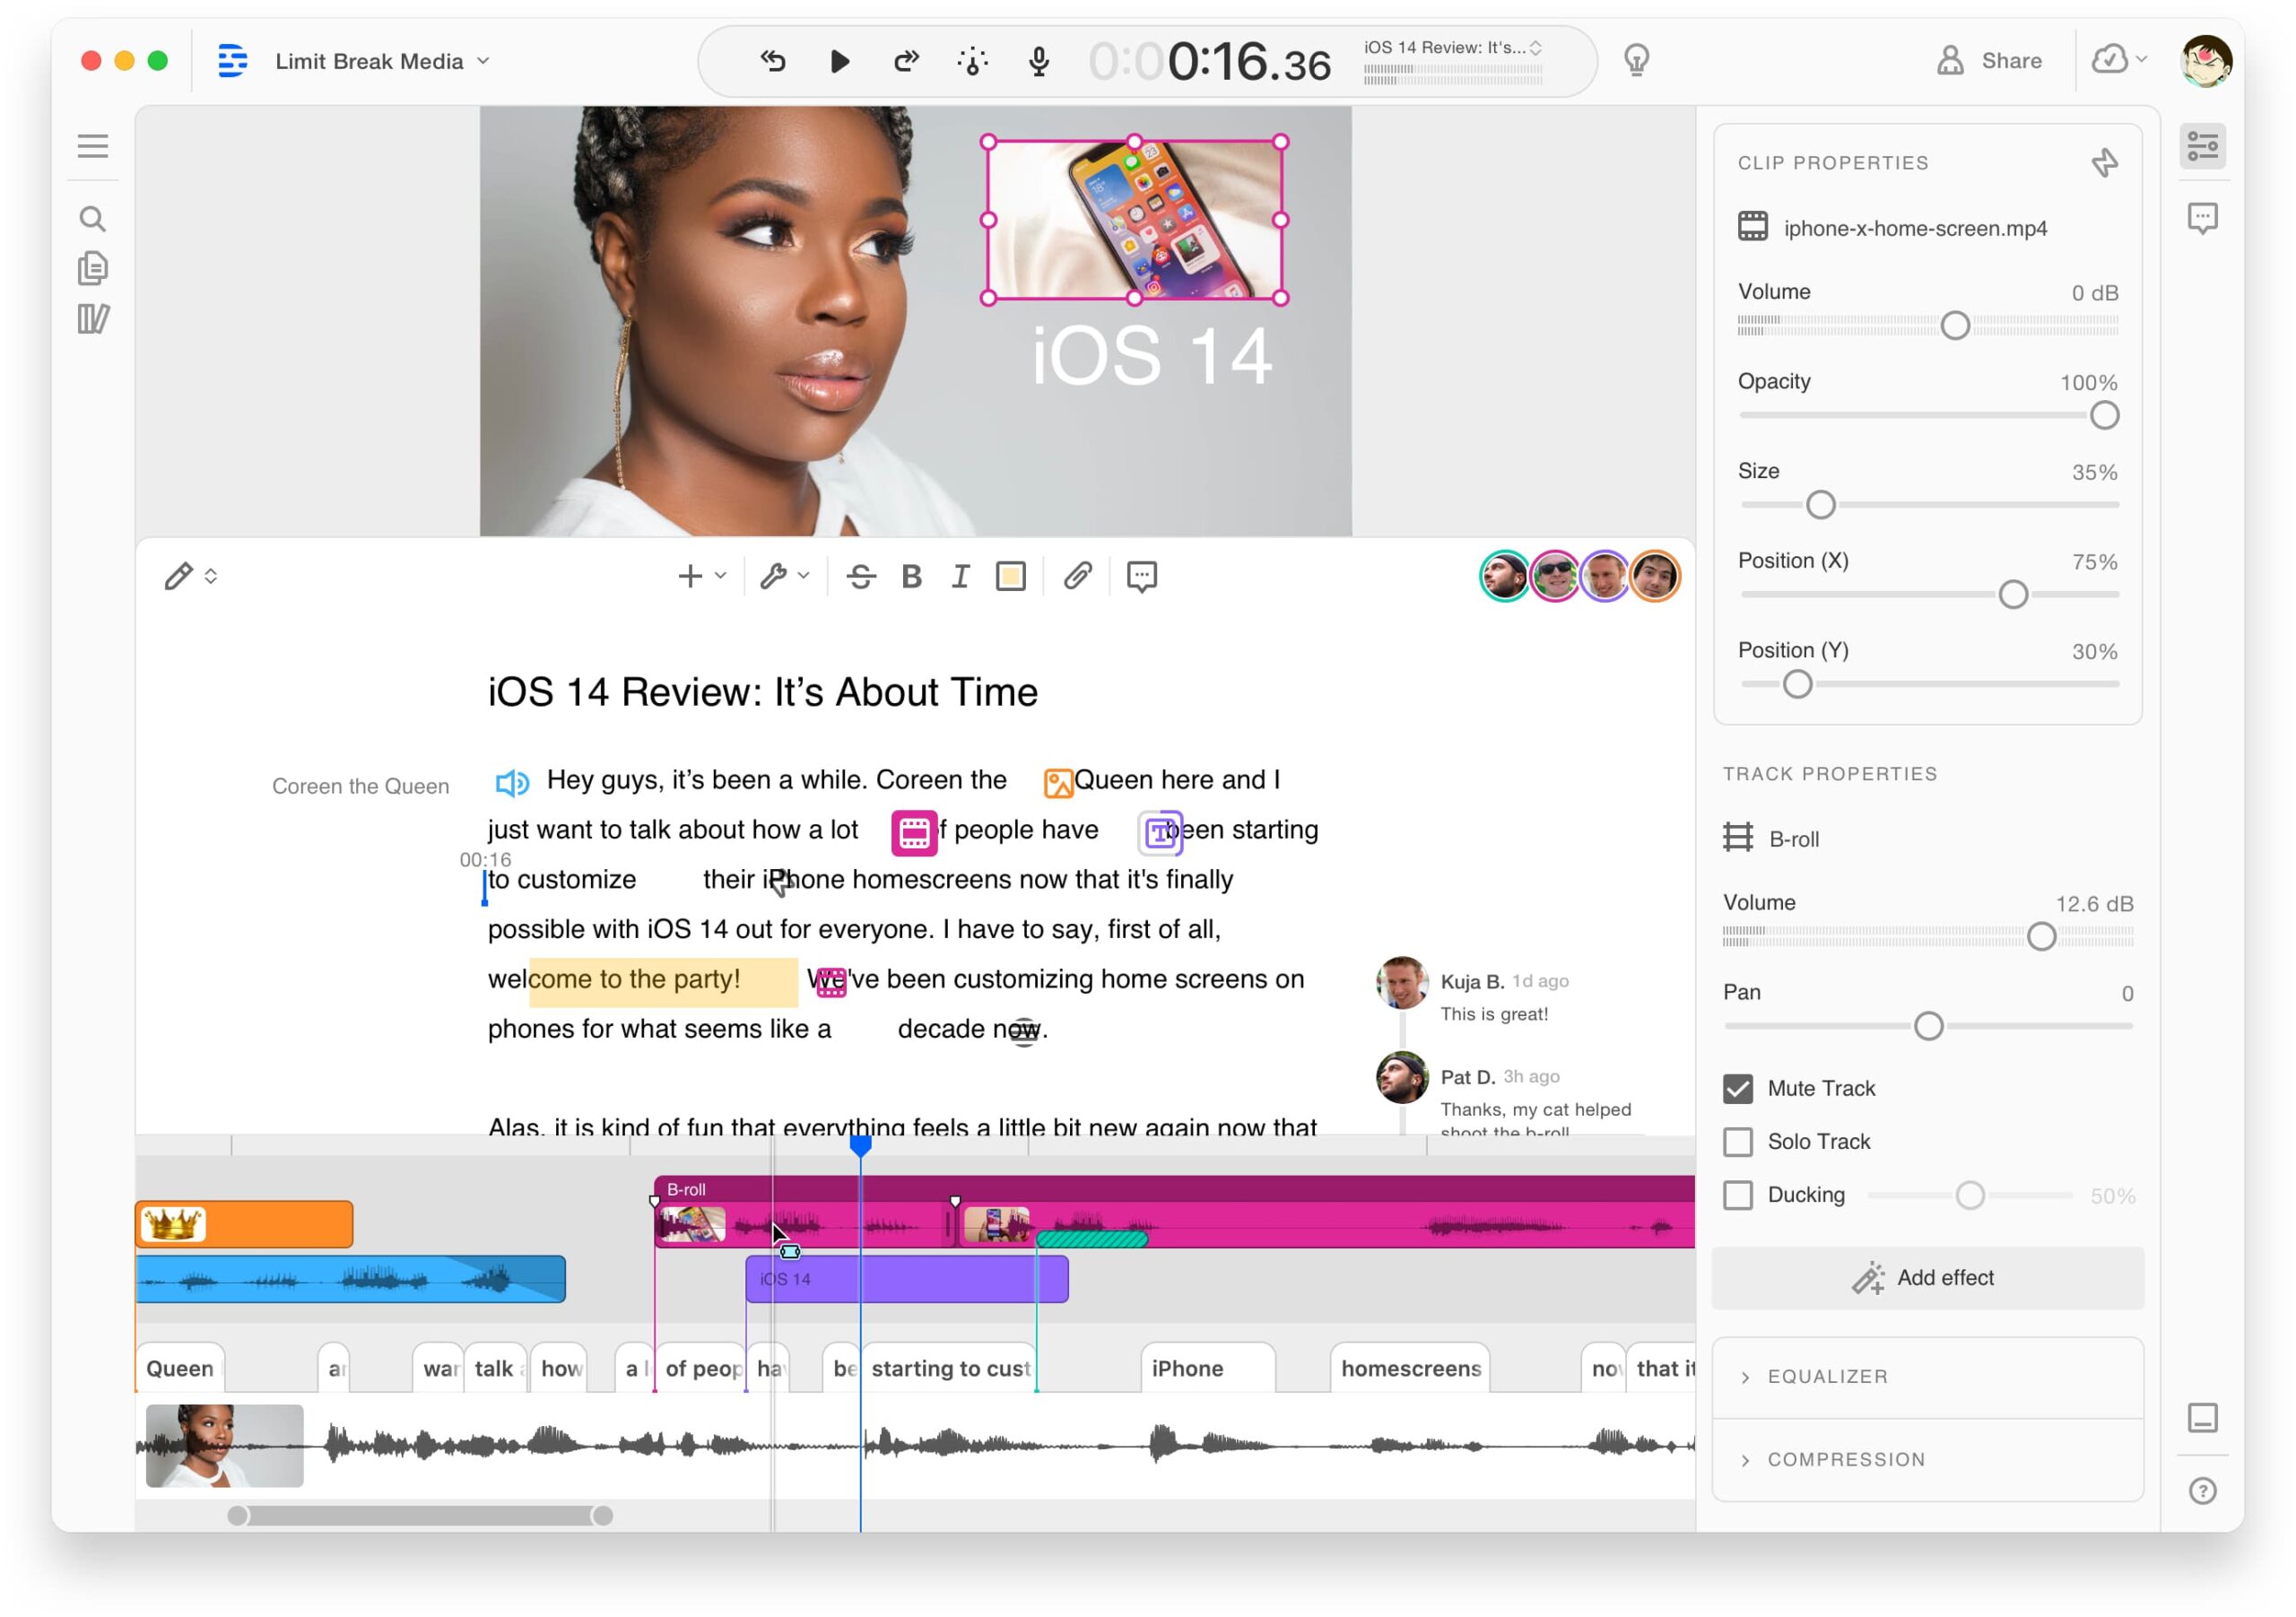
There are many podcast editing software options available, and the right one for you will depend on your specific needs and personal preference. Each will have slightly different editing capabilities. This is where you will do your post production after you record.
There are many editing tools available, some popular ones include Audacity, GarageBand, and Adobe Audition but I recommend Descript. One of the things I love about Descript is you can upload directly to your hosting platform.
You can learn how to easily edit a podcast with Descript.

- Headphones
Wearing a good pair of headphones allows podcasters to monitor the audio quality of their recordings in real-time. They can hear any unwanted noise, distortions, or other issues and adjust accordingly.
When using either a USB mic or XLR mic, sound can leak from the source, called noise bleeding. Whether the sound is coming from a podcast guest, podcast host, or co host it can be picked up by the microphone. Wearing headphones can help reduce noise bleeding.
If you are recording remotely, wearing headphones with a built-in microphone can also enhance communication during remote podcast interviews or discussions. This allows podcasters to hear their guests more clearly and avoid talking over each other.
Overall, wearing headphones can help podcasters produce high-quality podcasts and improve the listening experience for their audience.
Closed-back headphones are ideal as they block out external noise and prevent sound leakage.

- Pop filter
Pop filters are a noise protection device used when recording. It is a circular or oval-shaped mesh screen placed in front of a microphone to help prevent plosives, which are sudden bursts of air that can cause popping sounds when speaking certain consonant sounds like “P” and “B.”
The use of pop filters helps reduce or eliminate these plosives from being recorded, resulting in cleaner and clearer audio quality. It also helps in reducing sibilance, which are the harsh “S” and “T” sounds that can be heard in some recordings.
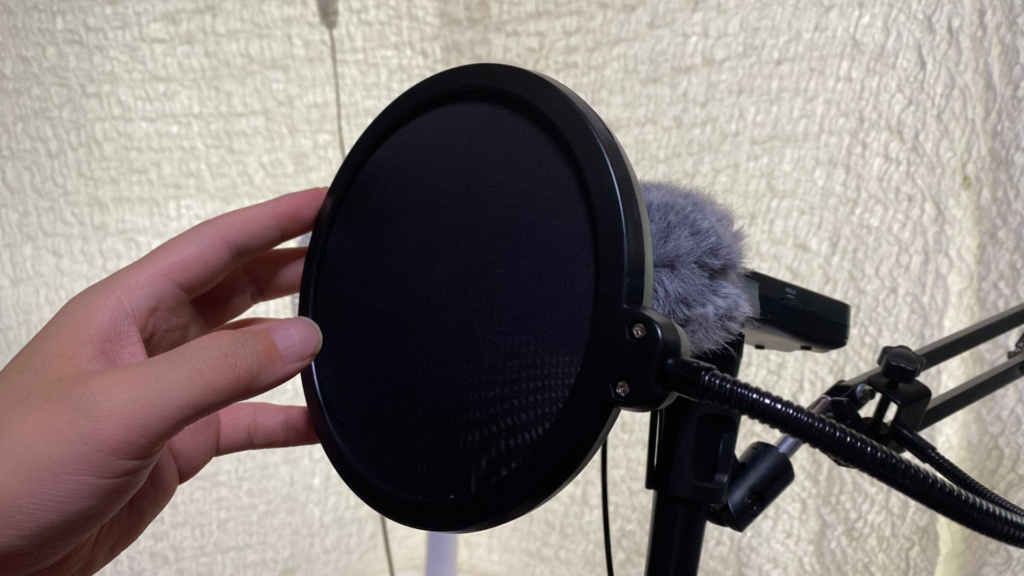
This is a simple and cost-effective way to improve the sound quality of your podcast recordings without excessive post production.
- Mic stand
A podcaster needs a mic stand, or boom arm, for several reasons.
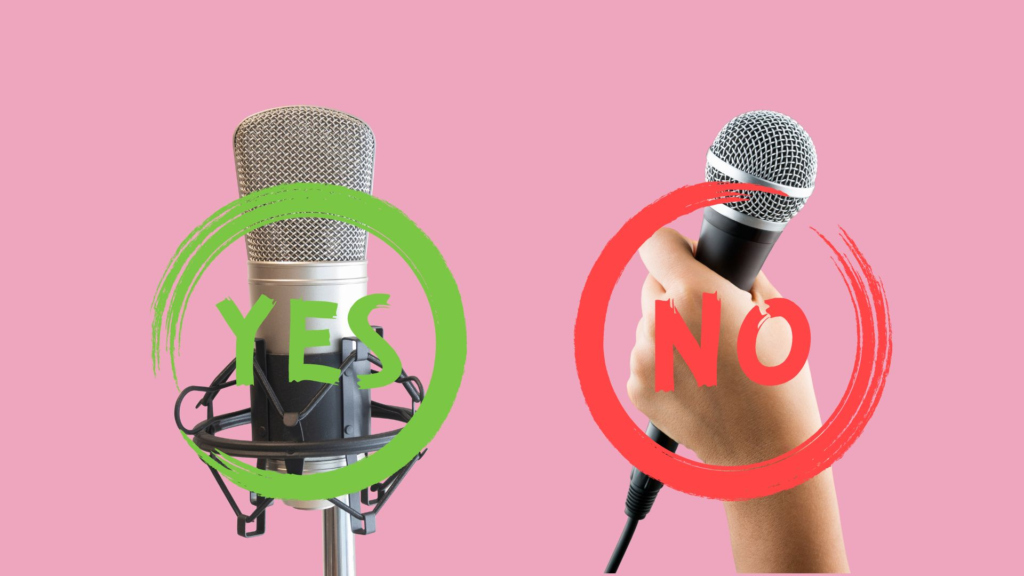
This allows a podcaster to place their microphone at a consistent distance and angle, ensuring consistent sound quality and clarity throughout the show.
Holding a microphone for an extended period can be tiring and may cause unwanted background noises. A boom arm also allows a podcaster to sit comfortably and focus on delivering their content without worrying about holding it.
The boom arm eliminates handling noise and other vibrations that can interfere with the quality of the show.
This makes it an essential accessory for any podcaster looking to improve the quality and consistency of their recordings.
PRO TIP: DON’T HOLD YOUR MICROPHONE!
- Acoustic treatment
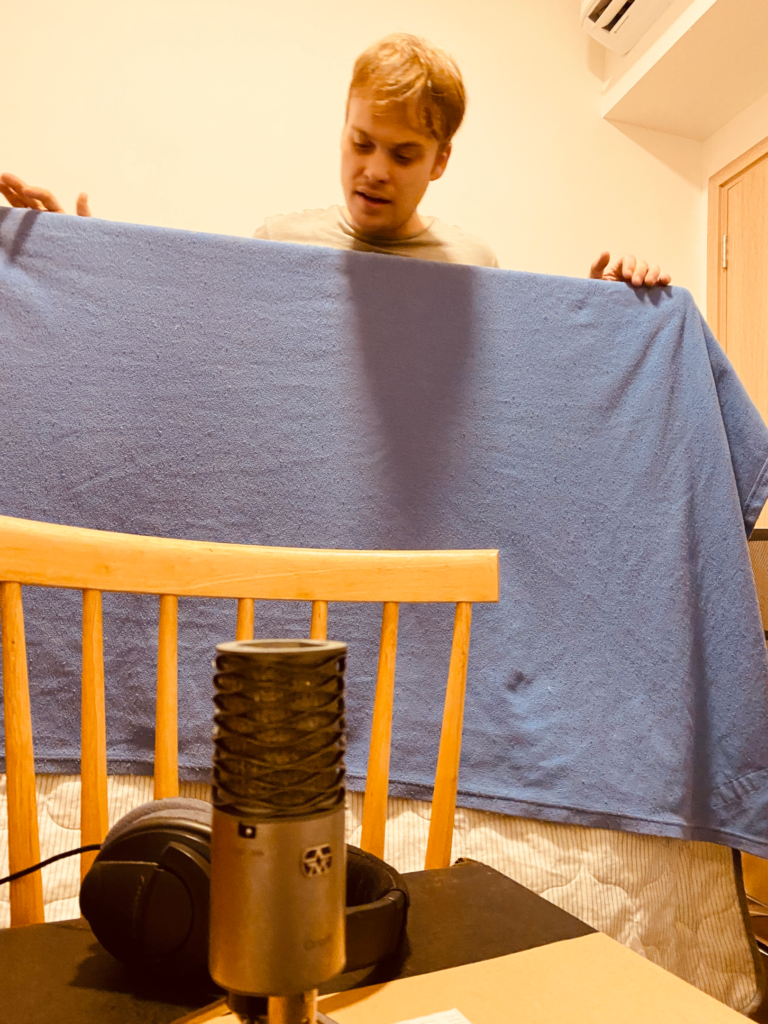
Acoustic treatment helps to reduce echoes and other unwanted sounds that can affect the quality of your podcast.
Adding acoustic foam tiles to the walls and ceiling can help reduce external noise and prevent echoes. If you do have the space and some money to spend acoustic foam tiles will dampen the sound.
If you can’t afford acoustic panels, consider using blankets or curtains to absorb sound.
Our sound engineer, Lewis Wright, recommends a simple solution: “Cover any shiny, hard surfaces (tiles, glass, or mirrors) with soft surfaces such as a blanket, sheet, or even a comforter. Anything shiny will allow the sound to bounce off it, creating poorer quality audio. Covering these surfaces in anything that will absorb the sound will help. And fill as much of the empty space as you can.”
BONUS: Video Podcast Setup
- Podcast Studio Design For Video Podcasts
If you decide to go all-in and do a video podcast, you can start with a simple Zoom call, so you can just use your default webcam or get a webcam.
- Consider Extra Cameras
However, consider investing in 1-2 high-quality cameras for more advanced set-ups and get yourself stable tripods. This way, you can record yourself and your guests in-person and have a high-quality recording the entire time.
Video recordings are a fantastic way to engage with your listeners. Initially, video calls are also great, to begin with. However, you might have issues with the audio quality as it also depends on the internet connection of your guests.
- Clear Lighting
Let your listeners see you clearly. This requires good lighting and better camera quality.
Does it look appealing to you when the video is dark, and you can barely see the person’s face? Yeah, we want to avoid dark recordings.
- Virtual Background
If you are on a budget and you are still in the process of setting up your space, virtual backgrounds could be a way to save your podcast background.
It is not ideal yet. However, a better solution than having your audience see an “under construction” room, am I right?
There are plenty of virtual backgrounds available, or you can design your own on Canva.
- White Wall And Nature
It may sound cliche but adding some vivid indoor plants in the background gives a friendlier feel to your video recordings. Pair this with lovely white walls and precise lighting, then your video podcast is good to go.
Starting Cost Of A Podcast Studio Set-Up
The cost of setting up a podcast studio can vary widely depending on the quality of equipment and the size of the studio. Here is a rough estimate of the cost of some basic equipment that you might need to start a home podcast studio:
- Microphone
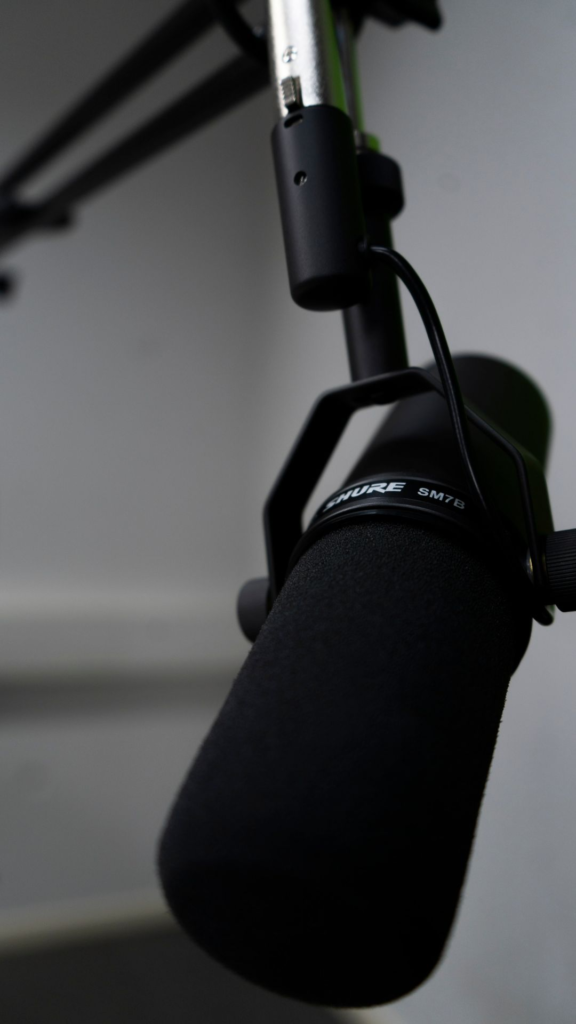
A good quality microphone can cost anywhere from $50 to $1000 or more, depending on the brand and model. USB microphones can be a cheaper alternative than XLR mics.
For $250 you can get the same microphone as Joe Rogan, the Shure MV7 or the Shure SM7B for $400.
- Audio interface or mixer
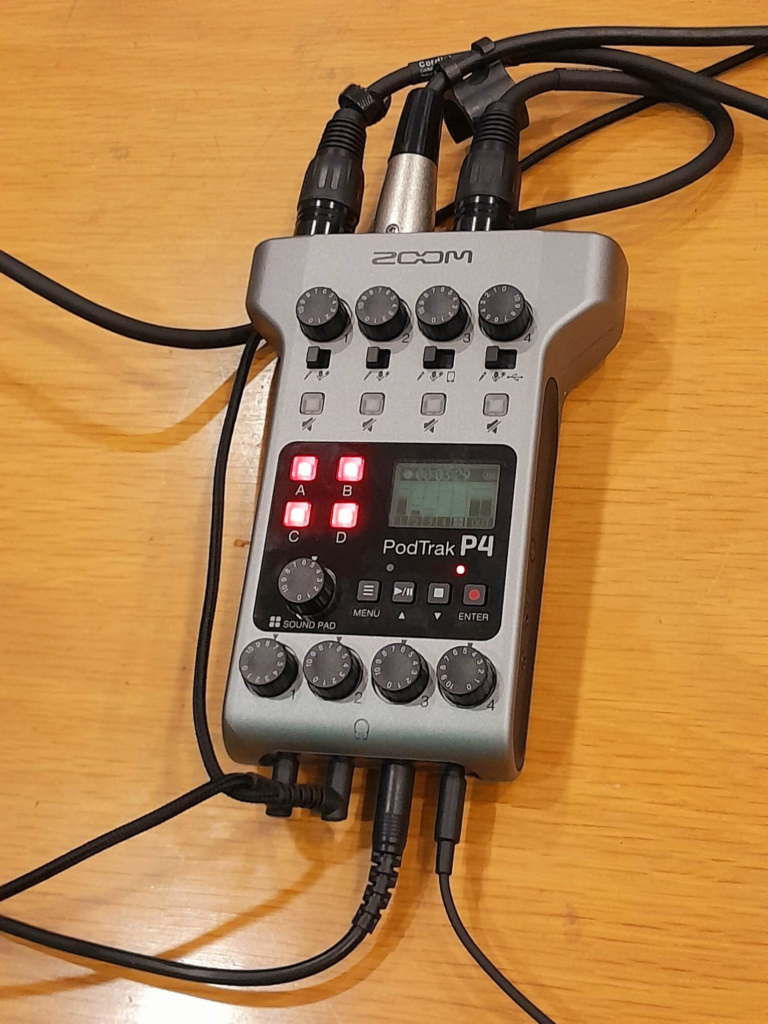
An audio interface or mixer is necessary to connect your microphone to your computer or recording device. These can range in price from $50 to $500.
I recommend the Podtrak P4 by Zoom which you can buy for $220 at Best Buy if you’re in North America.
- Headphones
A decent pair of headphones can cost anywhere from $20 to $500 or more.
I use the versatile Sony Wireless Noise-Canceling headphones (WH-1000XM4) that can be connected to the Podtrak with a wire or used for editing wit the bluetooth connection. You can buy these at Best Buy for $350 or upgrade to another good pair, XM5 for an extra $50.
- Mic stand
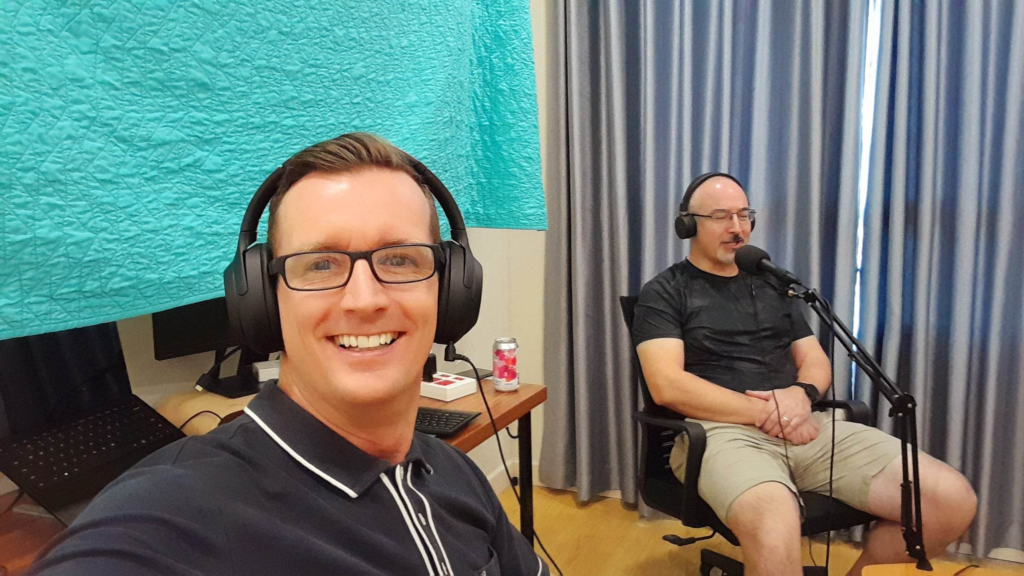
A basic stand or arm can cost anything from $20, to more advanced options that can cost up to $200 or more.
- Pop filter
A basic one can cost around $10 to $40.
- Recording software
There are many free or low-cost options, but more advanced software can cost up to $500 or more.
I recommend Descript which you can use for free. Plans start at $12 a month.
Conclusion
Overall, a basic podcast studio setup could cost anywhere from $150 to $1500 or more, depending on the equipment you choose. It’s important to keep in mind that you don’t need a professional recording studio to start a successful podcast, but investing in quality equipment can help improve the overall sound quality of your recordings.
Focus on the essentials, such as a USB microphone, a good pair of headphones, and recording software. You can always upgrade your equipment later as your podcast grows.
Generally, a podcast set-up for beginners with a low investment into equipment would be around $65 with a $50 microphone and $15 hosting. As a more advanced audio podcaster, the cost can start from $420 based on this very simple average calculation:
- Hosting $15
- Microphone $130
- Podcast editing $25
- Audio mixer $100
- Headphone $150
I haven’t included the cost of a computer as I assume that you already have one. If you do need to buy a computer be sure to get at least 8GB of RAM for faster editing.
Podcasting With Seven Million Bikes
Starting a podcast can cost however much you want, but always consider time as your most sacred currency. Podcasting takes time, and if you aren’t prepared for it, you can waste a lot of it.
Or worse, podfade and give up after seven episodes. My mission is to help aspiring podcasters join me on this journey.
If you are interested in starting your podcast, you can book a free consultation with me or enroll in my podcast course to become a podcast expert in just one week.

Excellent post! Your insights on this topic are very valuable and have given me a new perspective. I appreciate the detailed information and thoughtful analysis you provided. Thank you for sharing your knowledge and expertise with us. Looking forward to more of your posts!
Thank you Sariah!