Podcast Equipment for Beginners: 10 Essential Items for a Successful Podcast
You need expensive equipment for a podcast!
More equipment means better results.
And I don’t know how to use it!!
Many beginner podcasters believe this. And it stops them from ever starting their podcast. I thought it. You might be thinking about it right now!
While some equipment is needed to start a podcast, as a beginner it’s not necessary to invest in expensive gear or accumulate a multitude of podcast equipment for better results.
Quality content and storytelling are always paramount!
So if you’ve been dreaming of starting your own podcast but feel unsure about the podcast equipment you’ll need, worry no more. In this blog post, we’ll explore the must-have podcast equipment for beginners, setting you up for podcasting success.
As a beginner, diving into the world of podcasting can be both exciting and daunting.
However, with the best podcast equipment in your arsenal, you can create a captivating audio experience that engages your audience and brings your ideas to life. Let’s uncover the essential podcast equipment that will be your foundation as you take your first steps into the podcasting realm.
Related Post: 10 Tips For Success – What Makes A Good Podcast In 2023
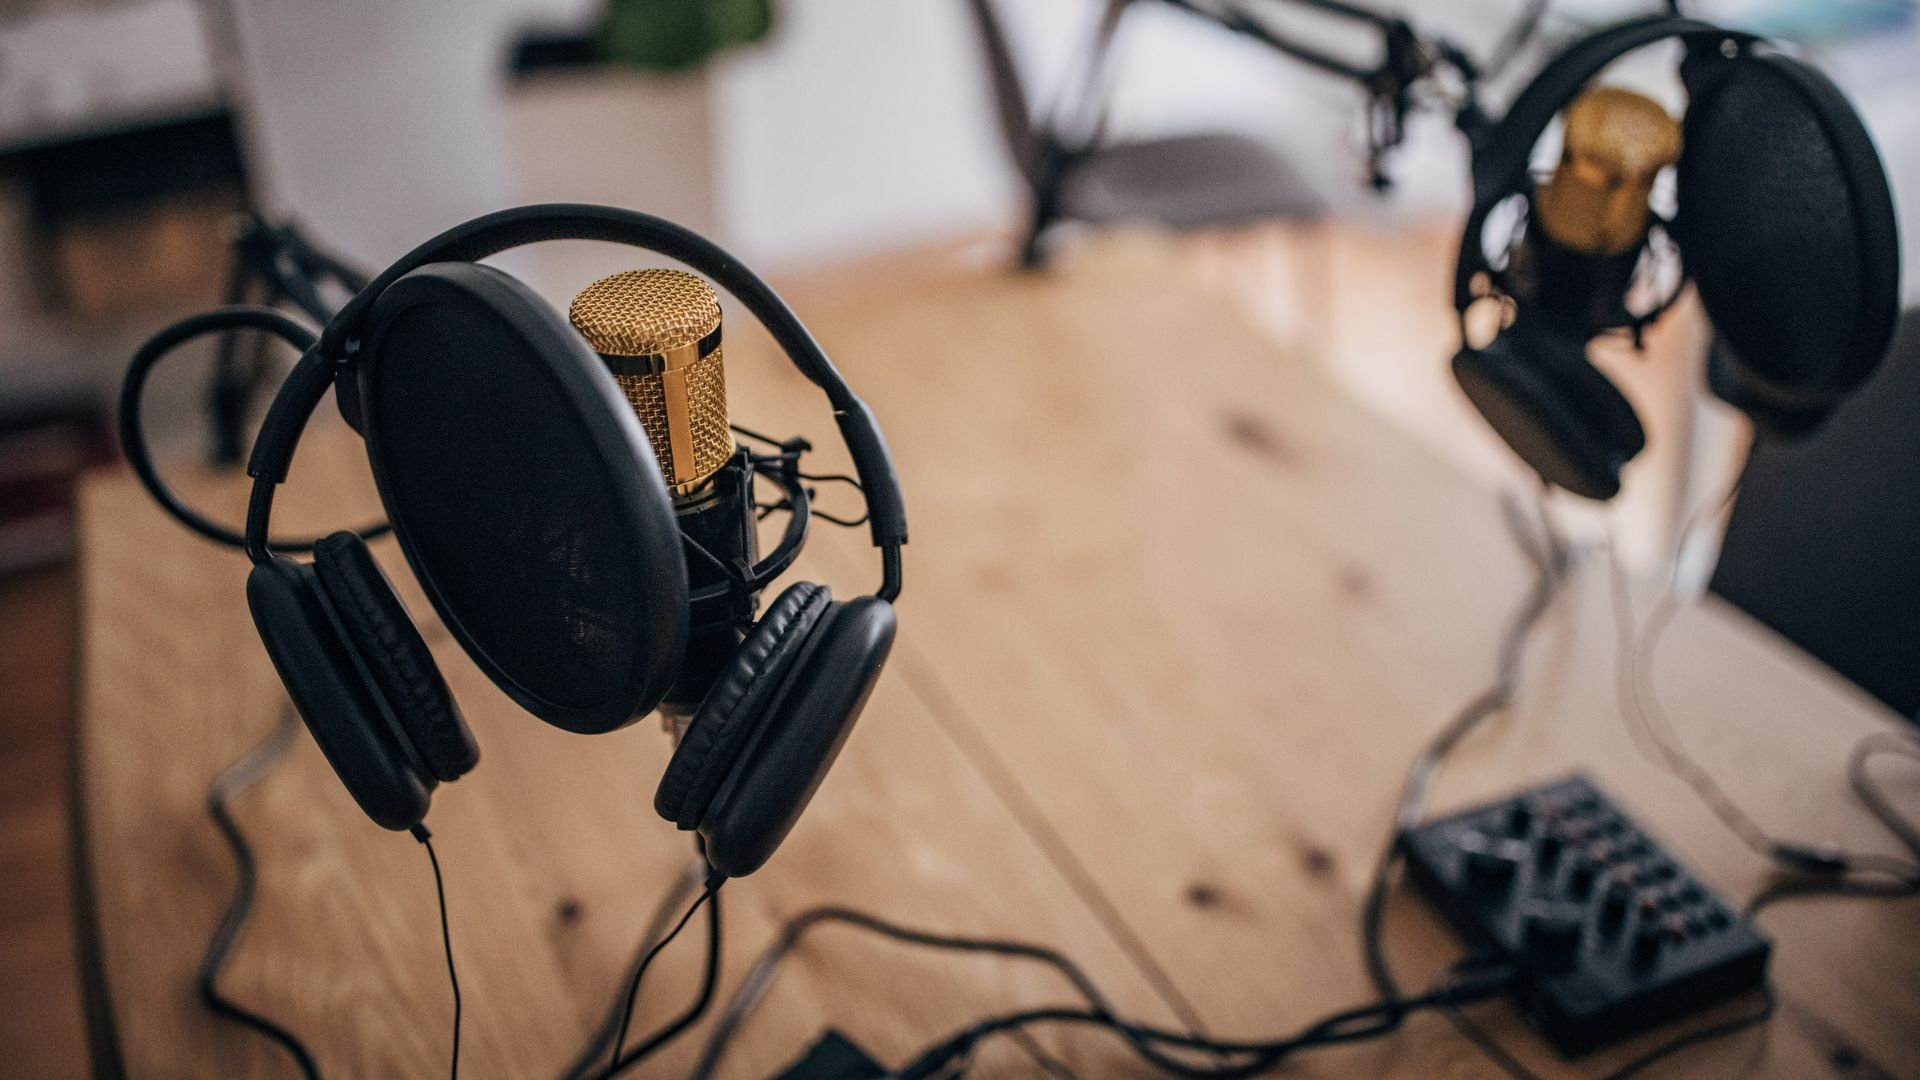
10 items podcast beginners must have for their podcast starter kit
1. Microphones for beginner podcasters
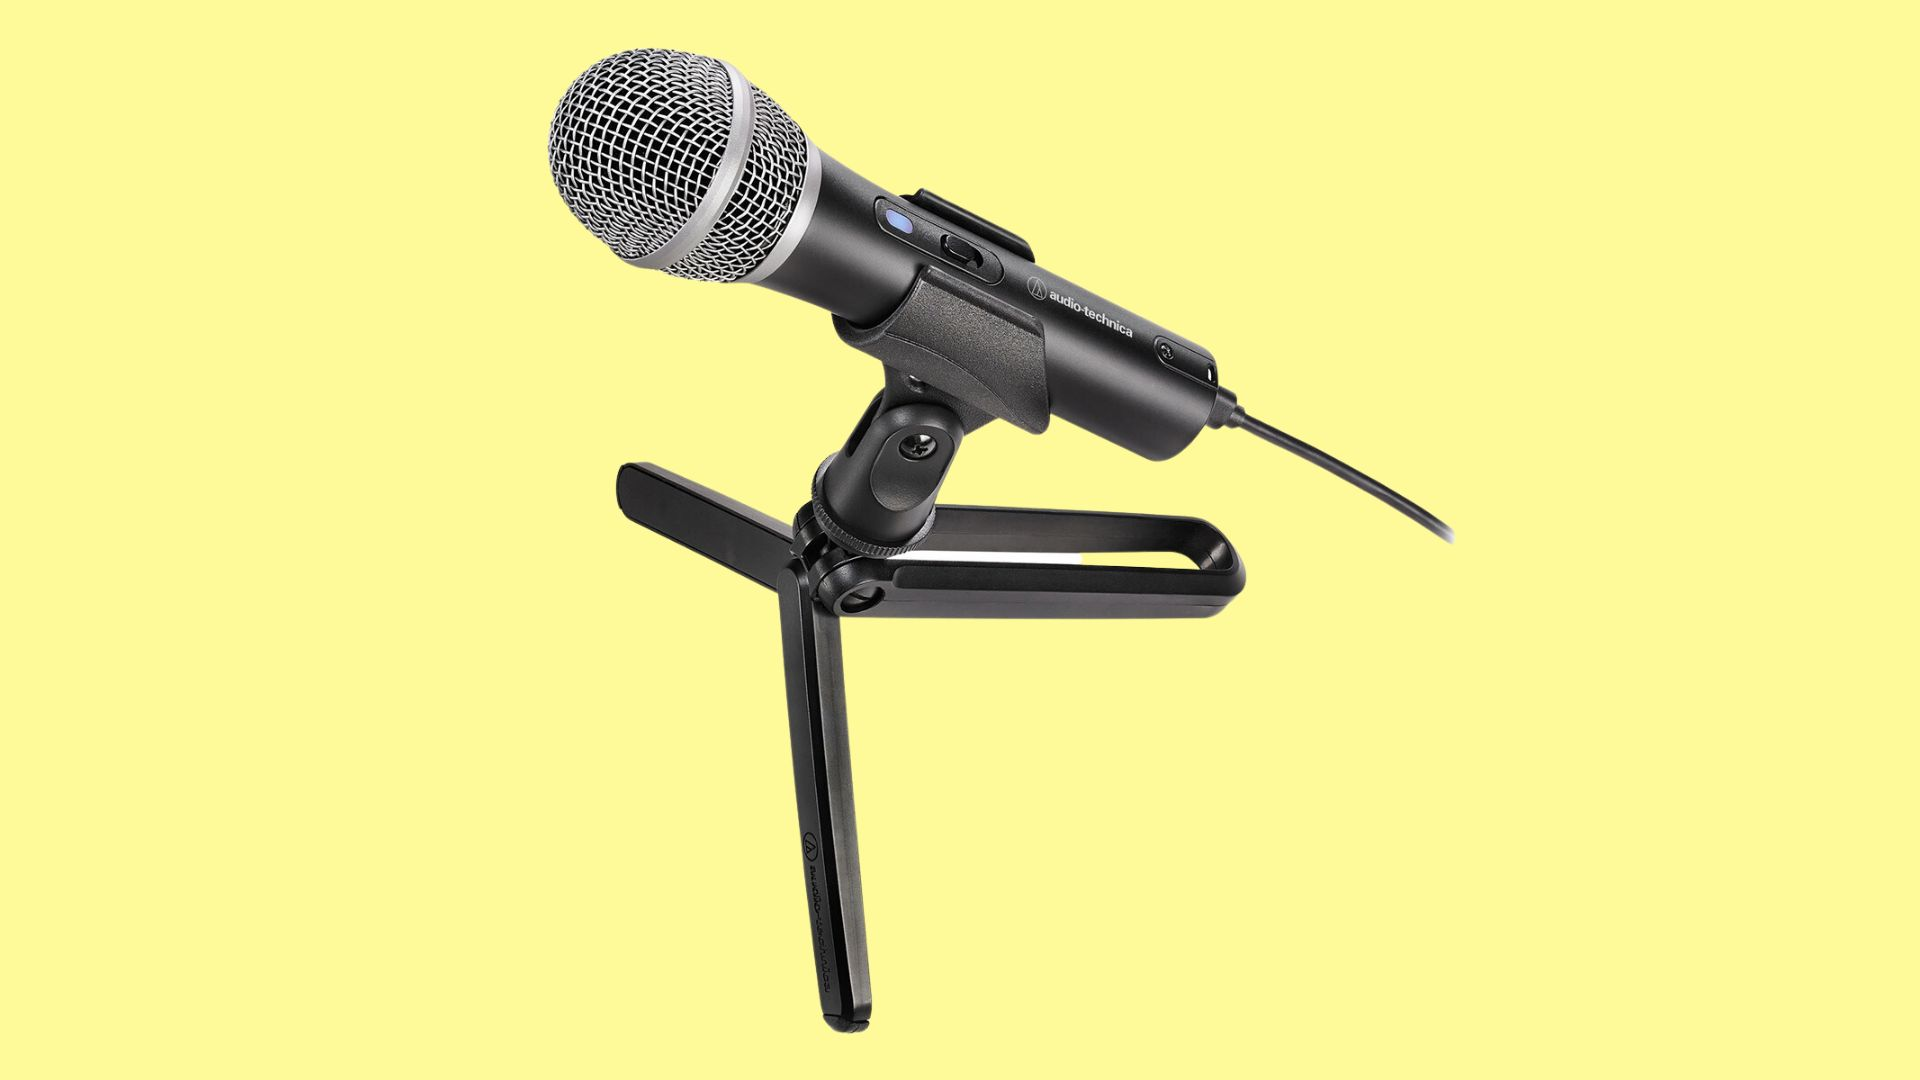
I often get asked about the best beginner microphones for new podcasters to record audio. Selecting the right microphone is crucial for achieving clear and professional audio. I’ll share just two of the top options that I highly recommend for beginners: the Audio-Technica ATR2100x-USB and the Blue Yeti.
I’ll also briefly describe the difference between XLR microphones and USB microphones.
Audio-Technica ATR2100x-USB:
The ATR2100x-USB is an excellent choice for beginners due to its versatility and affordability. It offers both USB port and XLR connectivity options, allowing you to connect directly to your computer or use it with a dedicated audio interface.
Pros:
- Dual connectivity options provide flexibility and future-proofing.
- The dynamic microphone element captures clear vocals while minimizing background noise.
- The USB microphone is an easy plug-and-play setup without the need for additional equipment.
- Sturdy build quality ensures durability and longevity.
- Comes with a tripod desk stand and a detachable USB and XLR cables for added convenience.
Cons:
- The included desk stand may pick up vibrations or handling noise, so using a shock mount or boom arm is recommended for optimal performance.
- Some users find the provided USB cable to be a bit short, which may limit positioning options.
- While the audio is great for beginners, professional audio enthusiasts might prefer more advanced microphone options.
The Audio-Technica ATR2100x-USB has received rave reviews from beginners and experienced podcasters alike. Its affordability, ease of use, and versatile connectivity make it a top choice for anyone starting their podcasting journey.
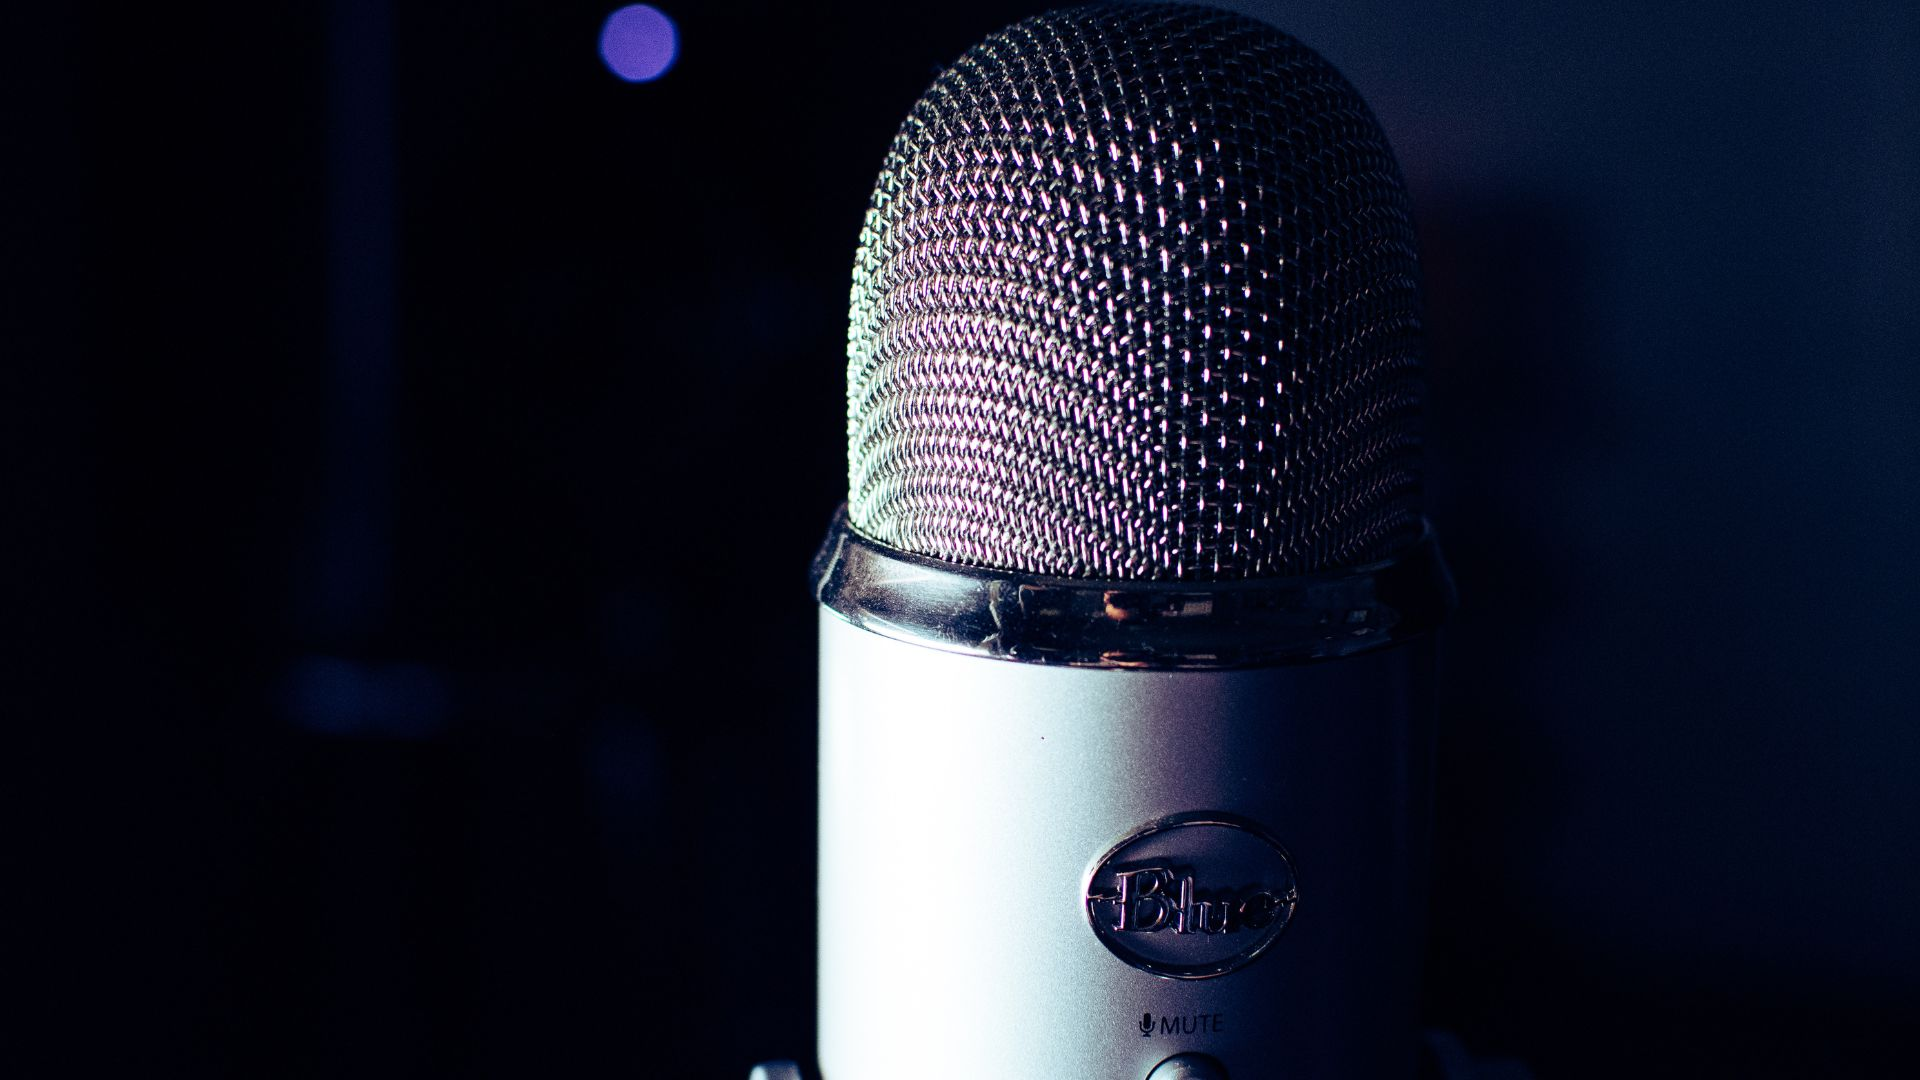
Blue Yeti
The Blue Yeti is a USB mic and another popular microphone for podcast starter kits, known for its USB audio interface meaning you can just plug in and use.
Pros:
- Offers multiple polar patterns (cardioid, bidirectional, omnidirectional, stereo), allowing you to adapt to different recording situations.
- Features a built-in headphone jack for real-time monitoring of your audio.
- Tri-capsule array captures studio-quality recordings with crisp detail.
- Compatible with both Mac and Windows operating systems.
- A sturdy and adjustable design allows for easy positioning.
- Recording multiple people with one mic is possible.
Cons:
- The Blue Yeti will pick up more noise form the background, so a quiet recording environment is recommended.
- Its larger size and weight can make it less portable compared to other options.
- Some users find the control buttons on the microphone to be a bit sensitive, requiring careful adjustments to avoid accidental changes in settings.
- USB mics are typically designed for direct connection to a computer or other USB-enabled devices, which means they may not be compatible with certain audio interfaces or mixers.
The Blue Yeti is highly regarded for its superb audio and user-friendly features. It has become a go-to choice for beginners looking for a versatile microphone that delivers professional-grade results.
Both the ATR2100x-USB and the Blue Yeti offer excellent options for podcast starter kits. Consider your budget, recording environment, and desired features to make the best choice for your podcasting needs. Happy podcasting!
And if you do buy an XLR microphone consider the fact you will also need to buy a digital recorder (See #5).
Related Post: 3 Best Podcasting Microphones To Start Your Podcast In 2023
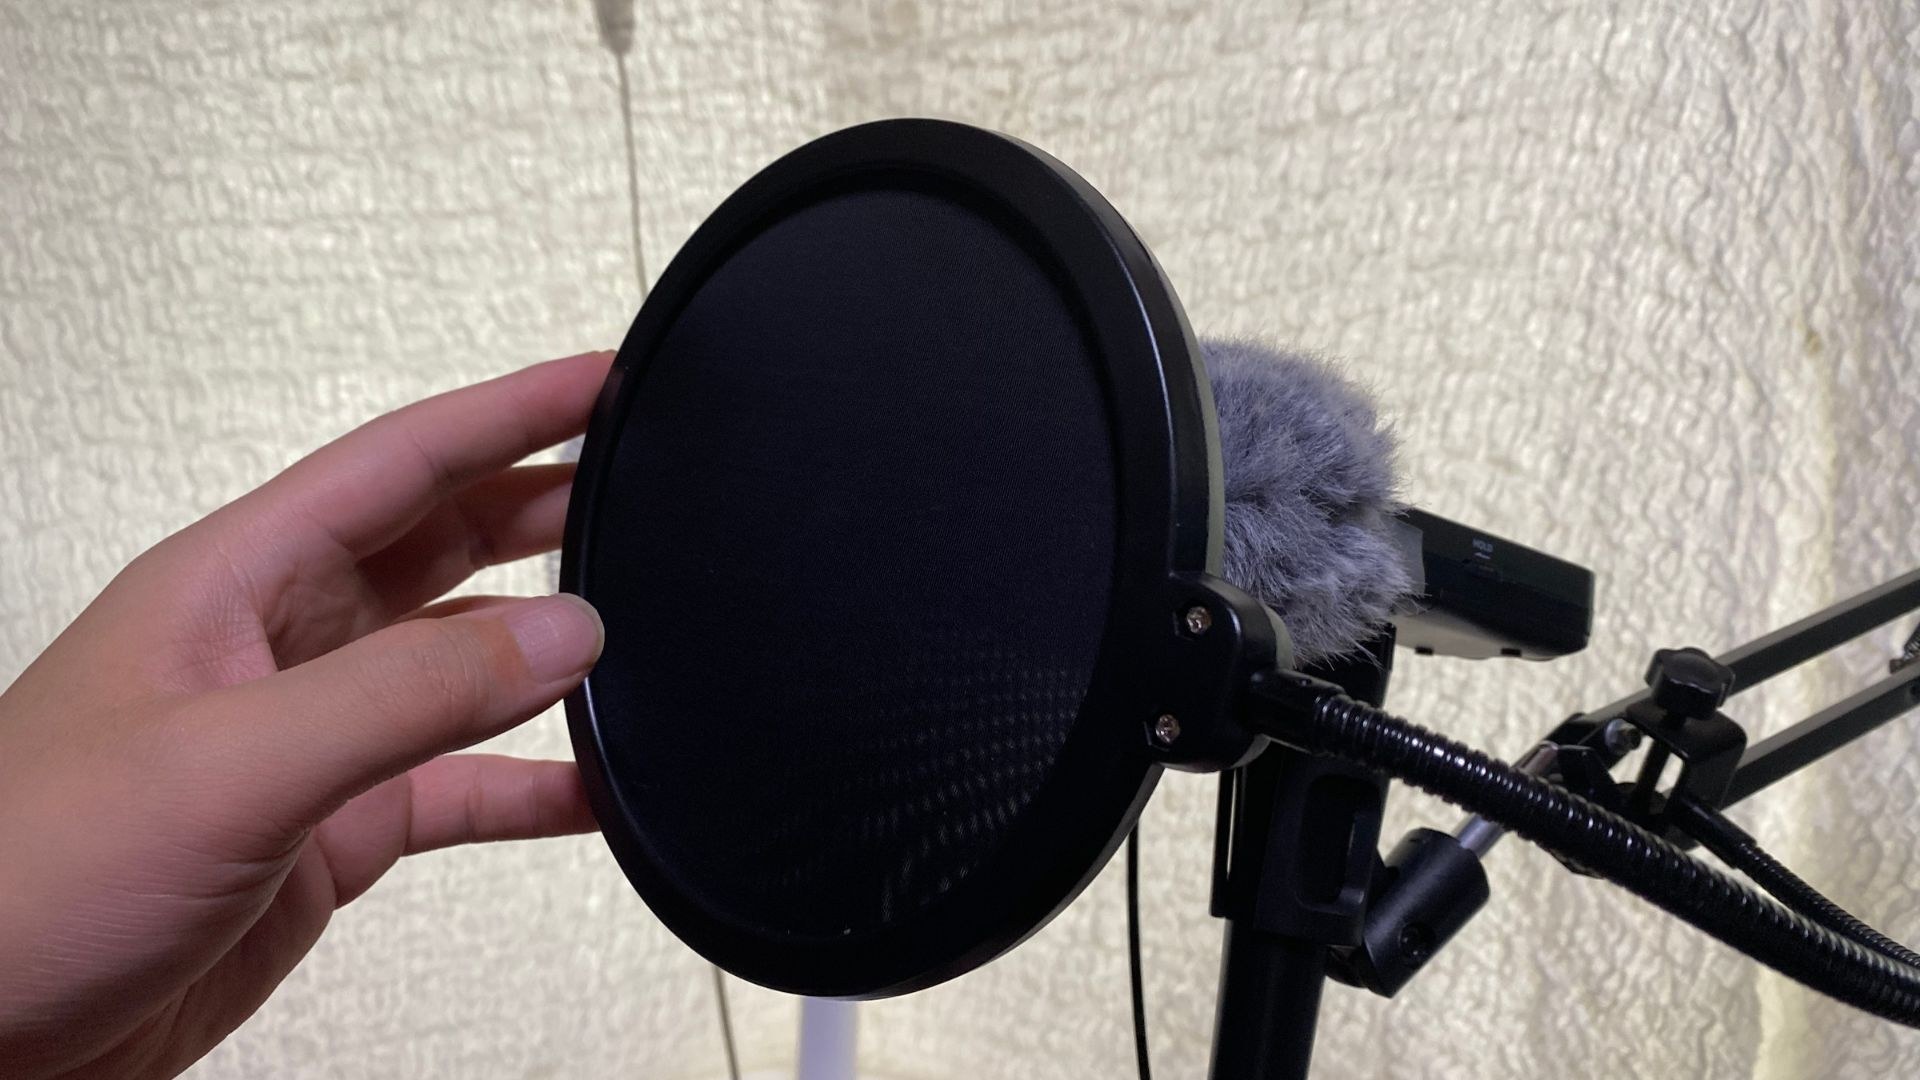
2. Pop Filters for beginner podcasters
A pop filter is a screen or mesh that is placed in front of a microphone to minimize plosive sounds, such as “p” and “b” sounds, which can cause unwanted bursts of air and distortion in the recording. It helps in achieving clearer and higher quality sound.
For beginner podcasters, I highly recommend using a pop filter for better sound quality of your recordings. It helps reduce harsh plosive sounds and ensures a more pleasant listening experience for your audience.
When it comes to choosing one, there are various options available on the market. One popular and affordable choice is the Aokeo Professional Microphone Pop Filter. It features a double-layered mesh screen that effectively eliminates plosive sounds while maintaining the clarity of your voice. The adjustable gooseneck allows for flexible positioning, making it compatible with different microphone setups.
Both the ATR2100x-USB and the Blue Yeti can benefit from using a pop filter.
While these microphones have built-in pop filters, they may not provide as much protection against plosive sounds as an external pop filter does. Adding an additional pop filter in front of your microphone can further enhance the quality by reducing plosive effects and ensuring a more professional sound.
By using a pop filter with the Audio-Technica ATR2100x-USB and the Blue Yeti, you can effectively eliminate plosive sounds and achieve cleaner recordings. It’s a small but worthwhile investment for beginner podcasters who want to take their audio to the next level.
Remember to position the pop filter about two to four inches away from the microphone for optimal results. This distance allows the filter to effectively capture and diffuse the airflow generated by plosive sounds without interfering with the microphone’s performance.
MUST READ: How To Start A Podcast In 2023
3. Headphones for Beginner Podcasters
Headphones are an essential piece of podcasting gear as they serve multiple purposes. Firstly, they allow you to monitor your audio in real-time, ensuring that the recording quality is optimal and there are no technical issues or background noises. Additionally, headphones help you hear subtle details and nuances in your audio, enabling you to make adjustments or edits as necessary during the recording or editing process.
For beginners, I recommend two options: one budget-friendly pair and one more expensive pair, each with its own pros and cons.
Budget Option: Audio-Technica ATH-M20x
Pros
The Audio-Technica ATH-M20x offers a balanced sound profile, decent build quality, and good noise isolation, making it suitable for podcasting. It has a wide frequency response and provides accurate audio monitoring at an affordable price.
Cons
The earpads may feel a bit firm and less comfortable during extended use compared to more expensive options. The sound quality, while good for the price, may not be as refined or detailed as higher-end headphones.
More Expensive Option: Beyerdynamic DT 770 Pro
Pros
The Beyerdynamic DT 770 Pro is renowned for its exceptional sound quality, comfort, and durability. It provides a detailed and accurate audio representation, making it ideal for critical listening during podcast recording and editing. The closed-back design offers excellent noise isolation.
Cons
The higher price tag may be a limiting factor for some beginners. Additionally, the DT 770 Pro has a relatively long cable, which may be less convenient for portable setups.
In summary, headphones are crucial for podcasters to monitor audio quality, detect issues, and ensure professional sound. For a budget-friendly option, the Audio-Technica ATH-M20x provides good sound and noise isolation at an affordable price. On the other hand, the Beyerdynamic DT 770 Pro offers exceptional sound quality, comfort, and durability, though at a higher cost. Ultimately, the choice depends on your budget and the level of audio precision you desire.
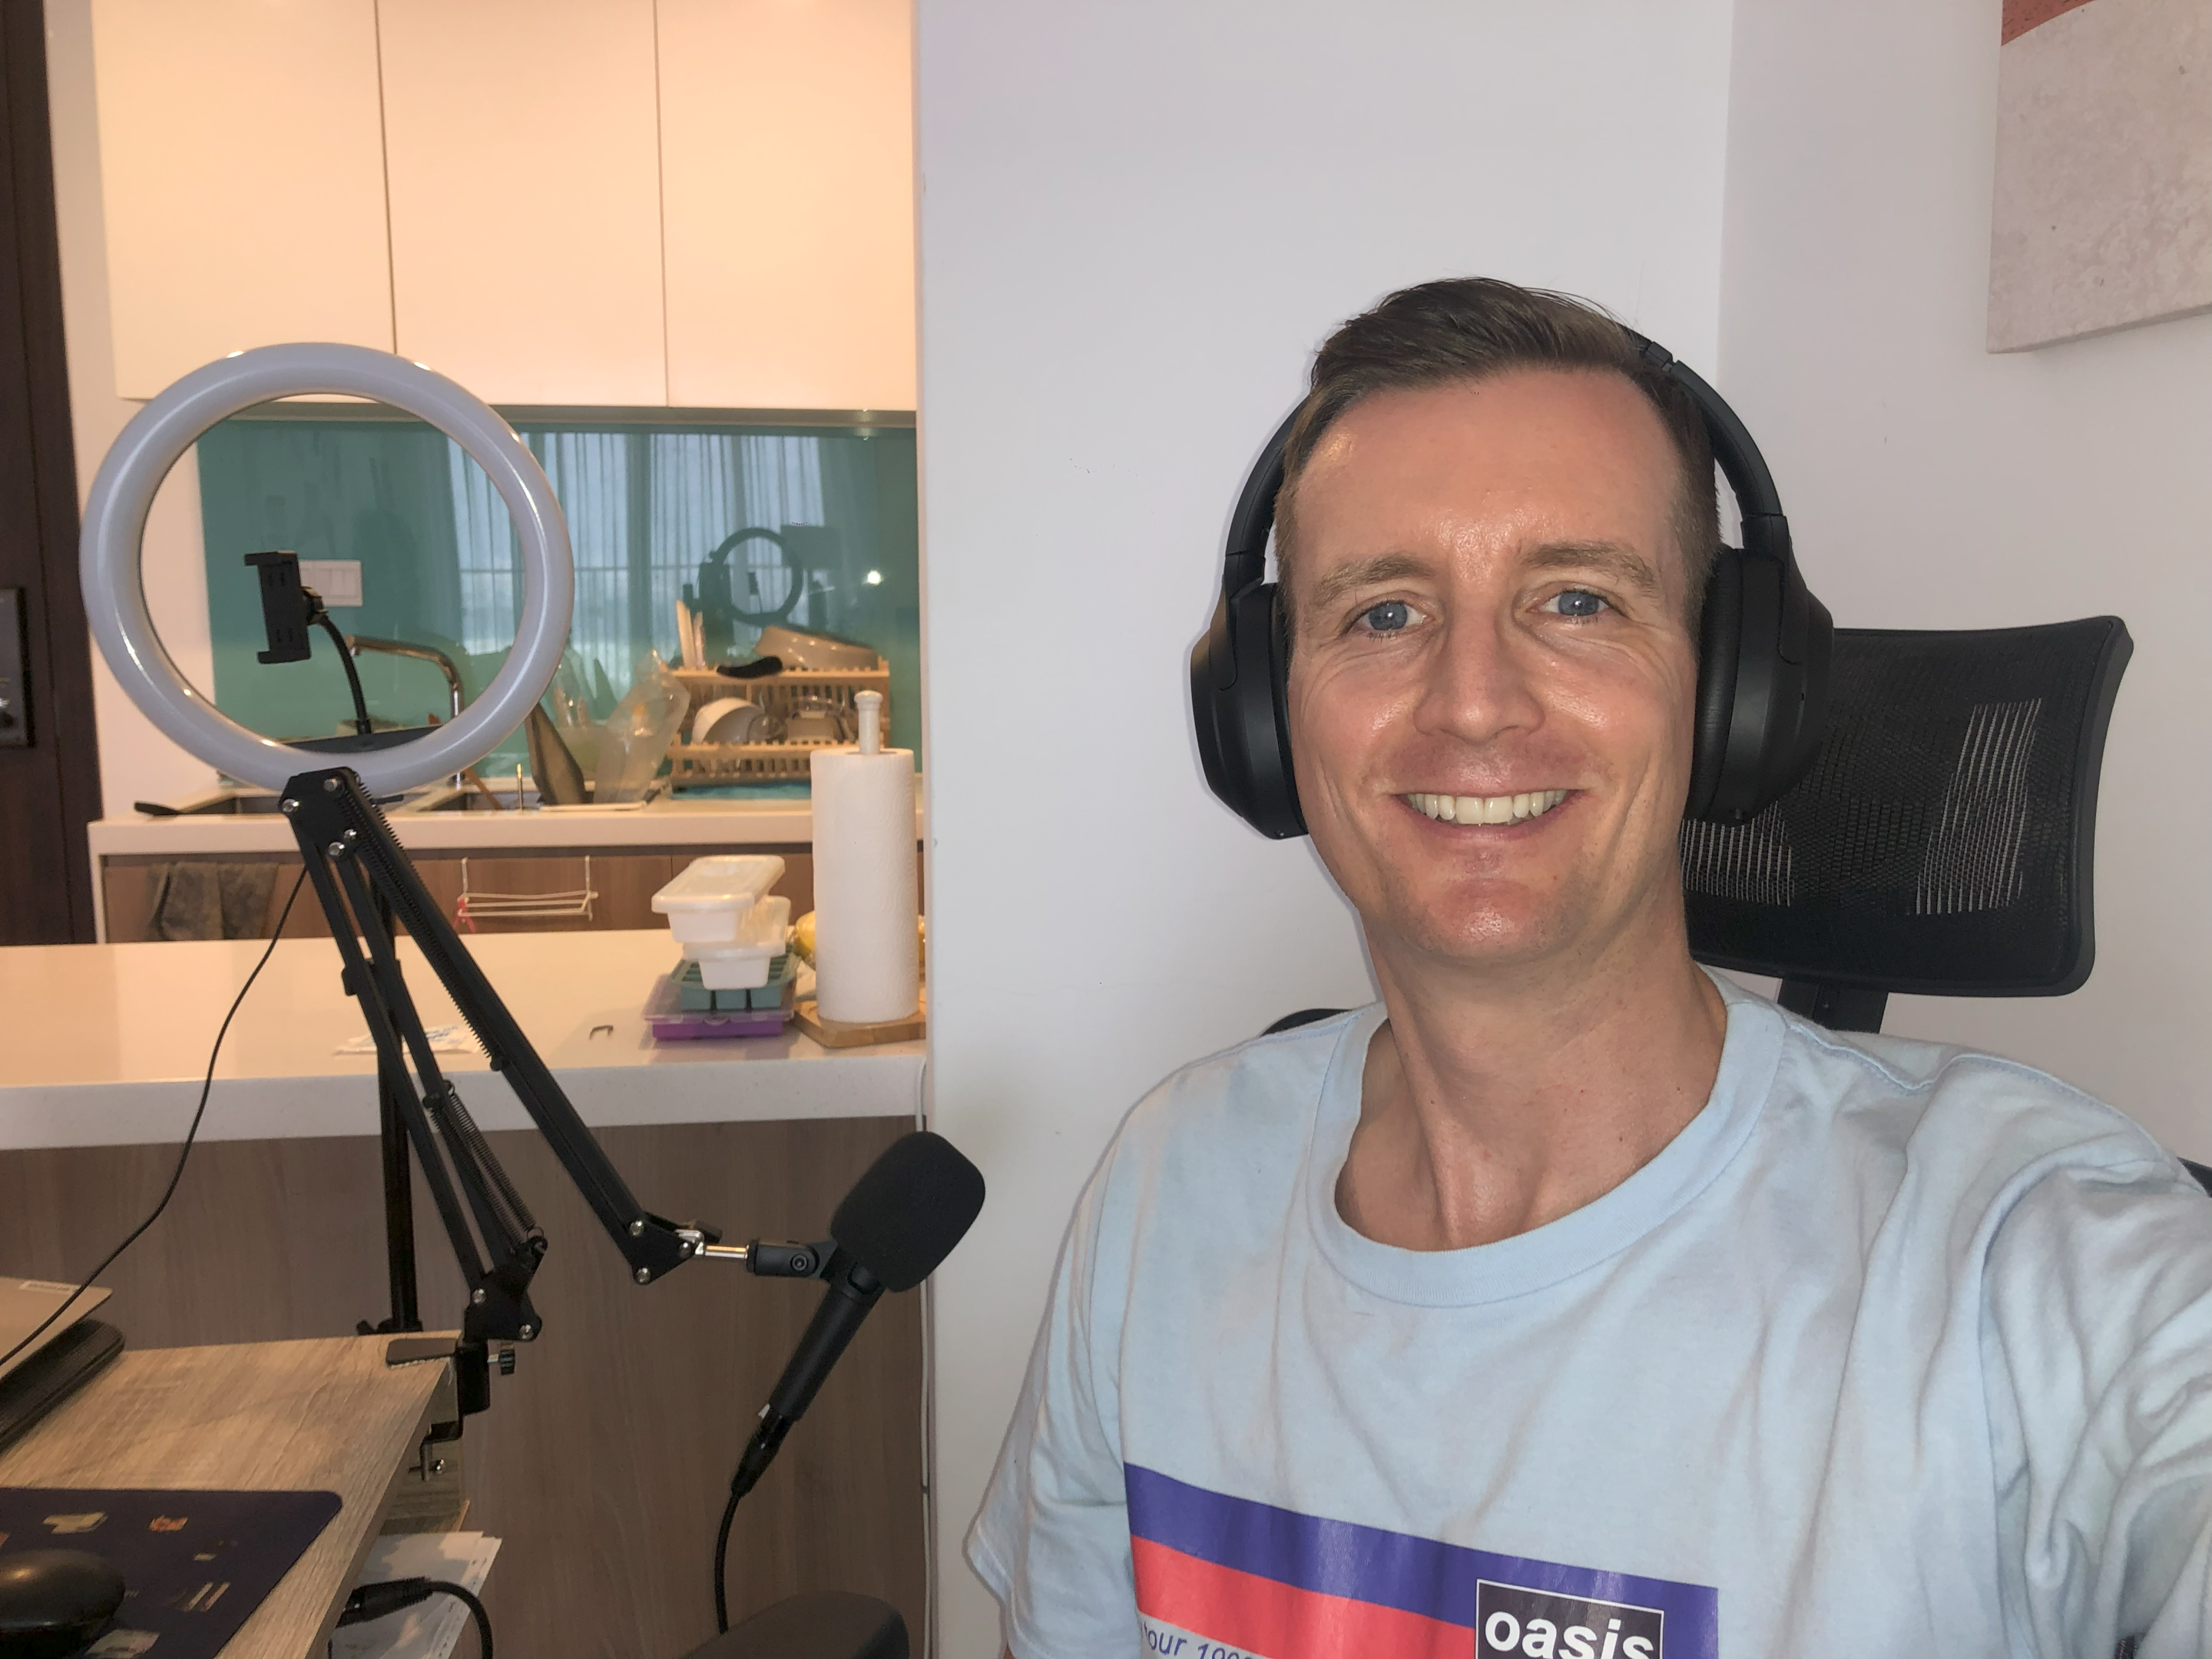
What I use: Sony WH-1000XM4
The Sony XM4 headphones are a premium choice for podcasters, offering exceptional sound quality and advanced noise cancellation. This was the number 1 reason I bought them – to cancel out construction noise in the apartment above me!
With a comfortable and stylish design, these headphones provide a professional podcasting experience. While they come at a higher price point, they deliver on performance and convenience.
The audio performance is top-notch, providing accurate and detailed sound reproduction for high-quality recordings. The active noise cancellation is highly effective, creating a quiet environment ideal for focused podcasting sessions.
One major advantage of the XM4 headphones is their comfort and stylish design. The plush cushioning and ergonomic fit ensure long-lasting comfort during extended podcasting sessions.
However, the premium price point of the XM4 headphones is a notable downside, as it may be a limiting factor for podcasters on a tight budget.
I love them, so recommend them for anyone looking to add some nice heaphones to their podcast equipment bundle.
FIND OUT: Why Do Podcasters Wear Headphones?
4. Boom Arm or Mic Stand
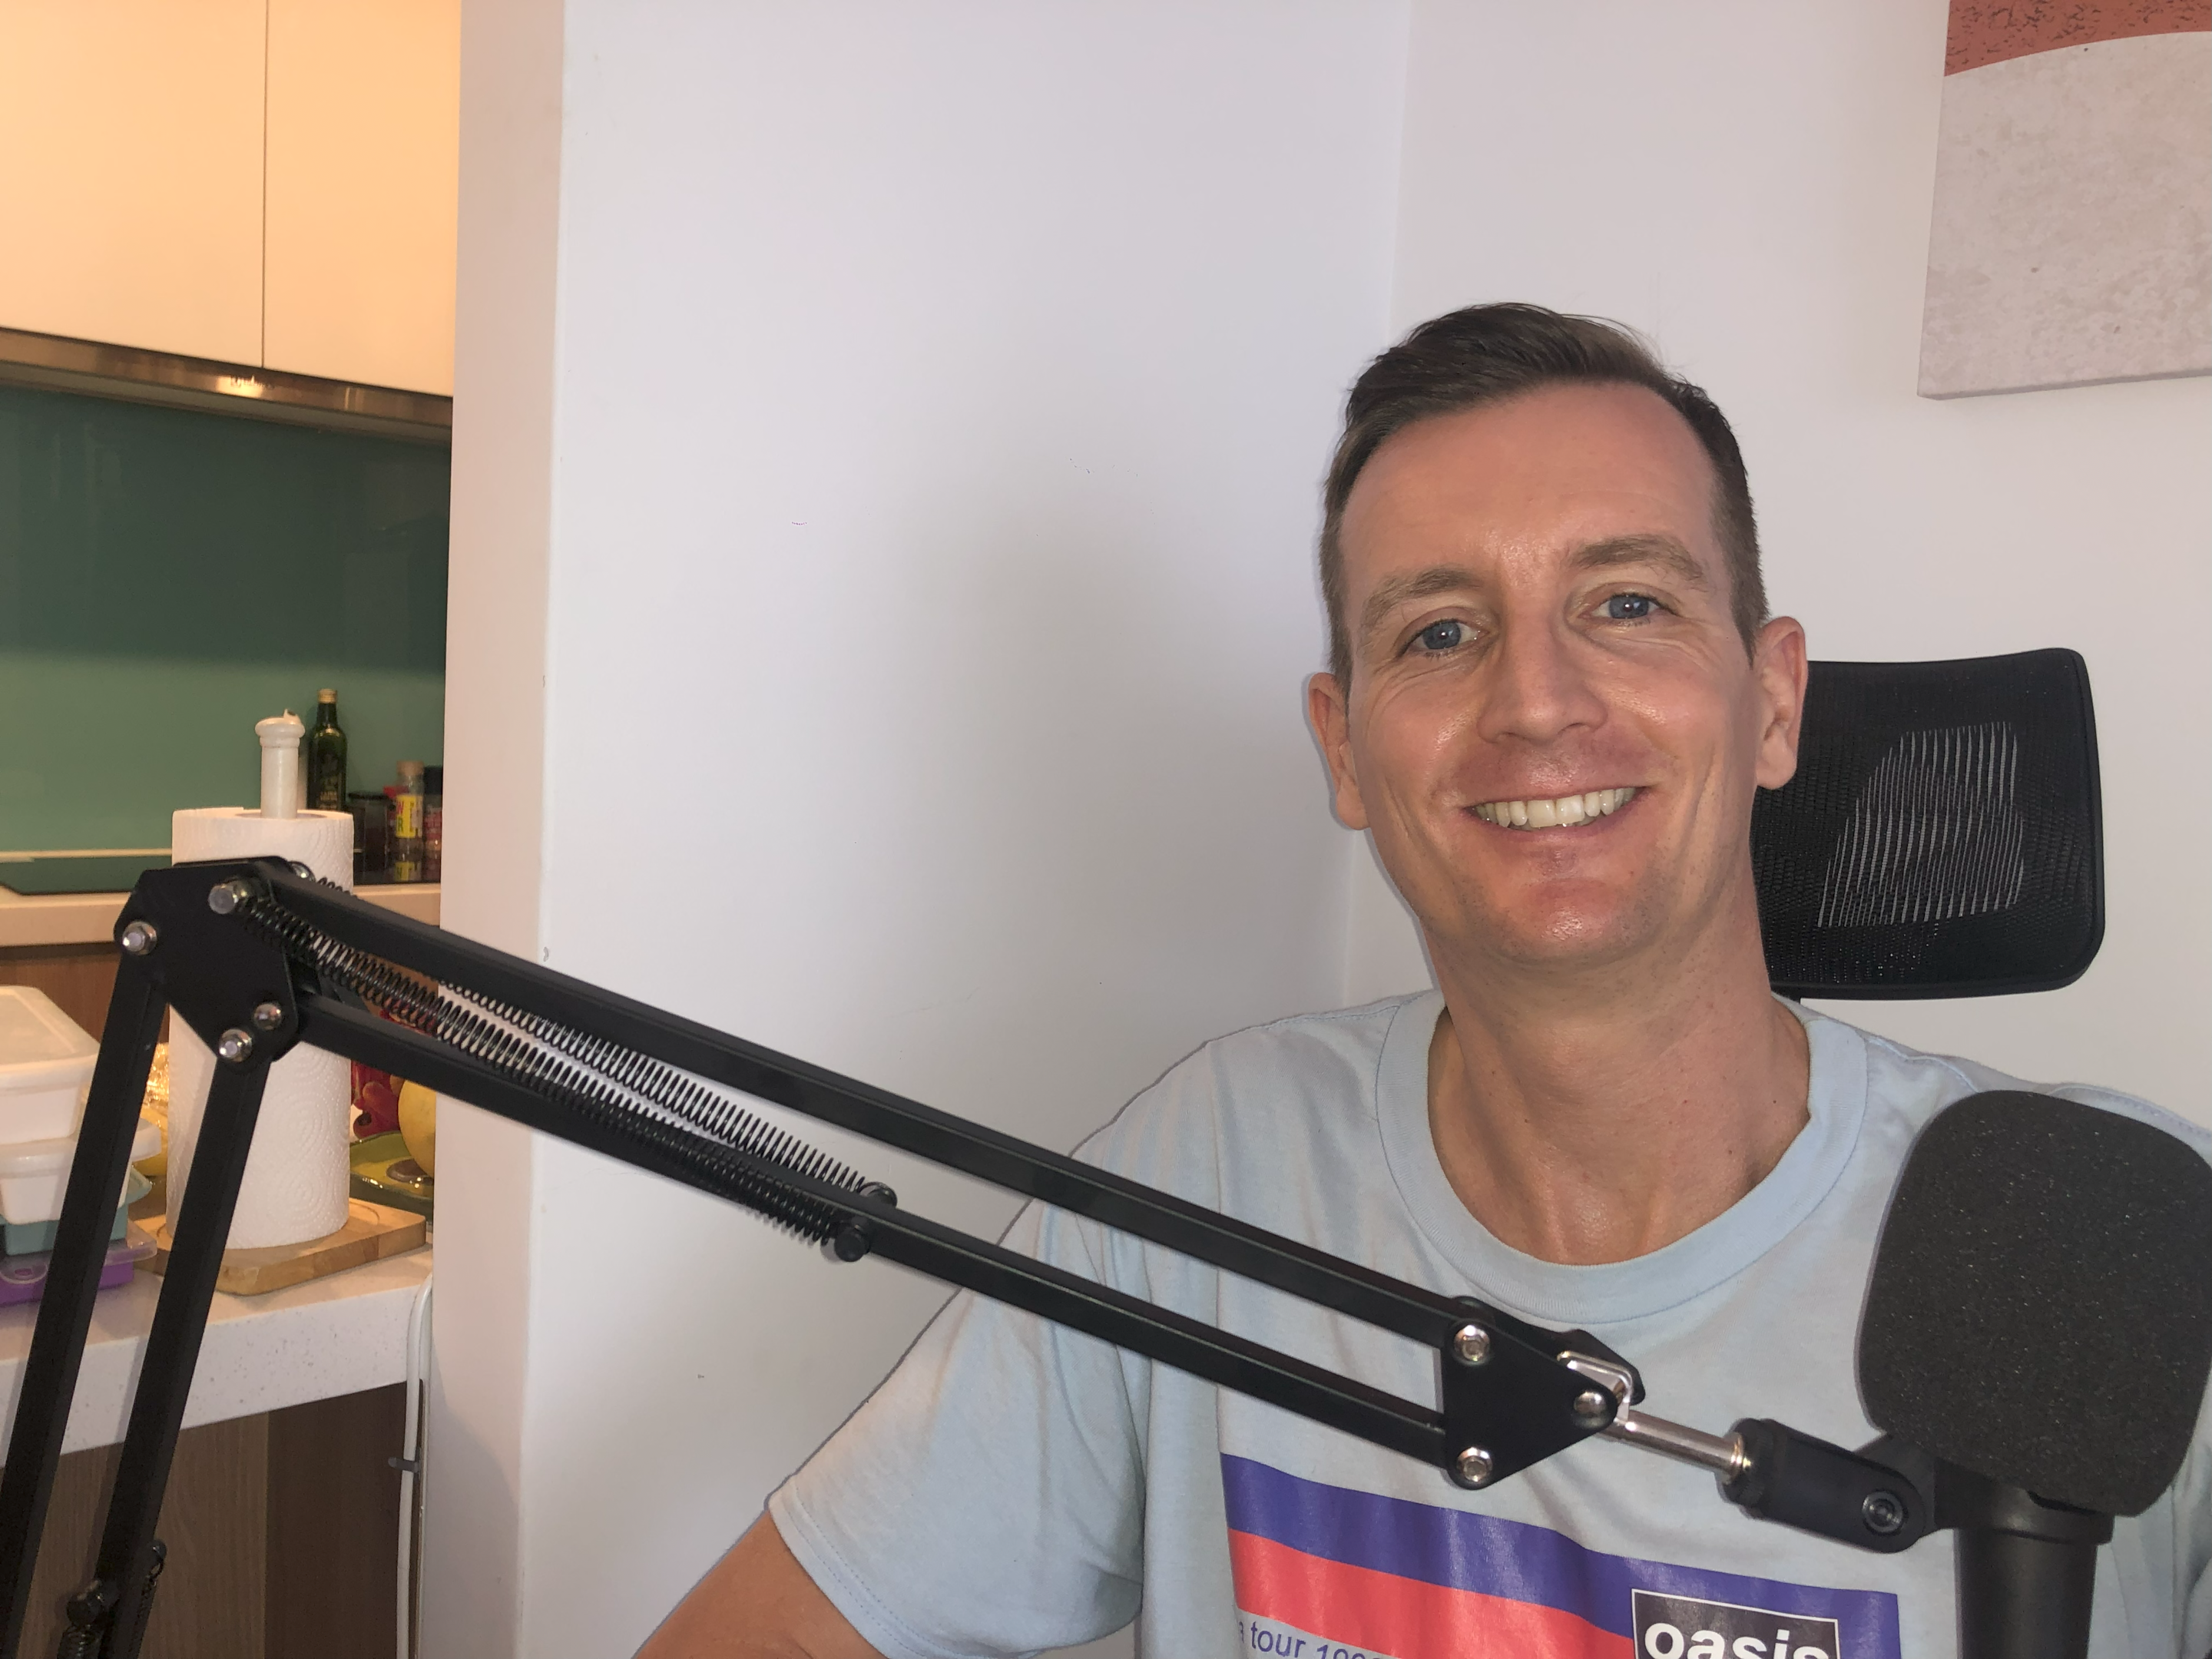
A boom arm or mic stand is an essential tool for every podcaster, providing convenience, stability, and improved audio quality.
A boom arm has a pivoting arm that can be adjusted to various angles and lengths, allowing podcasters to position the microphone precisely where they need it. The boom arm typically attaches to a desk or table using a clamp or mount, which provides stability and flexibility during recordings.
They offer several advantages:
- With a boom arm, podcasters can easily adjust the height, angle, and reach of the microphone. This helps achieve optimal microphone placement for capturing clear and balanced audio.
- Boom arms help declutter the workspace by lifting the microphone off the desk or table. This frees up valuable space and allows for better organization of other equipment.
- Many boom arms come equipped with shock mounts or suspension systems. These features help reduce vibrations and handling noise, ensuring cleaner and more professional-sounding recordings.
- Boom arms are designed for convenience and ease of use. They often have adjustable tension knobs or springs that allow for effortless positioning and secure locking in place.
Mic Stand
Pros
- These offer a sturdy and reliable base for your microphone. It ensures that your mic stays in place and minimizes the risk of accidental movement or vibrations during recording.
- Mic stands come in various sizes and styles, including desk-mounted or floor-standing options. This allows you to choose the one that best suits your recording setup and preferences.
- Mic stands typically have a straightforward assembly process, making them beginner-friendly and hassle-free.
Cons
- Unlike boom arms, mic stands may have limited flexibility when it comes to adjusting the height and angle of your microphone. This can be less ideal if you require frequent mic positioning changes.
- Mic stands, particularly floor-standing ones, occupy more space compared to boom arms. They may not be the best choice for compact or crowded recording environments.
Overall, both boom arms and mic stands are indispensable for podcasters. DO NOT HOLD THE MIC!
Boom arms excel in providing flexibility and space-saving capabilities, while mic stands prioritize stability and ease of use. Consider your recording needs, available space, and portability requirements when choosing between the two, as both options can greatly enhance your podcasting experience.
Shock Mount
A shock mount is a device designed to isolate a microphone from vibrations and handling noise. It consists of a suspension system that holds the microphone securely while minimizing any unwanted movements or vibrations.
Podcasters should use a shock mount to reduce vibrations, improve sound quality and protect the microphone.
When recording, even the slightest vibrations or bumps can be picked up by the microphone, which you will hear in your headphones, resulting in unwanted noise in the audio. A shock mount helps to isolate the microphone from external vibrations, such as desk movements or foot tapping, ensuring cleaner and clearer recordings.
Although you shouldn’t touch the mic when recording or move it if you accidentally do the microphone can create audible handling noise. A shock mount helps to absorb these handling sounds, allowing for more professional and polished audio.
I can’t tell you how many times either me or a client have hit the mic inadvertently during recording!
MUST READ: Podcast Studio Design Tips For Beginners With Starting Cost
5. Audio Interface
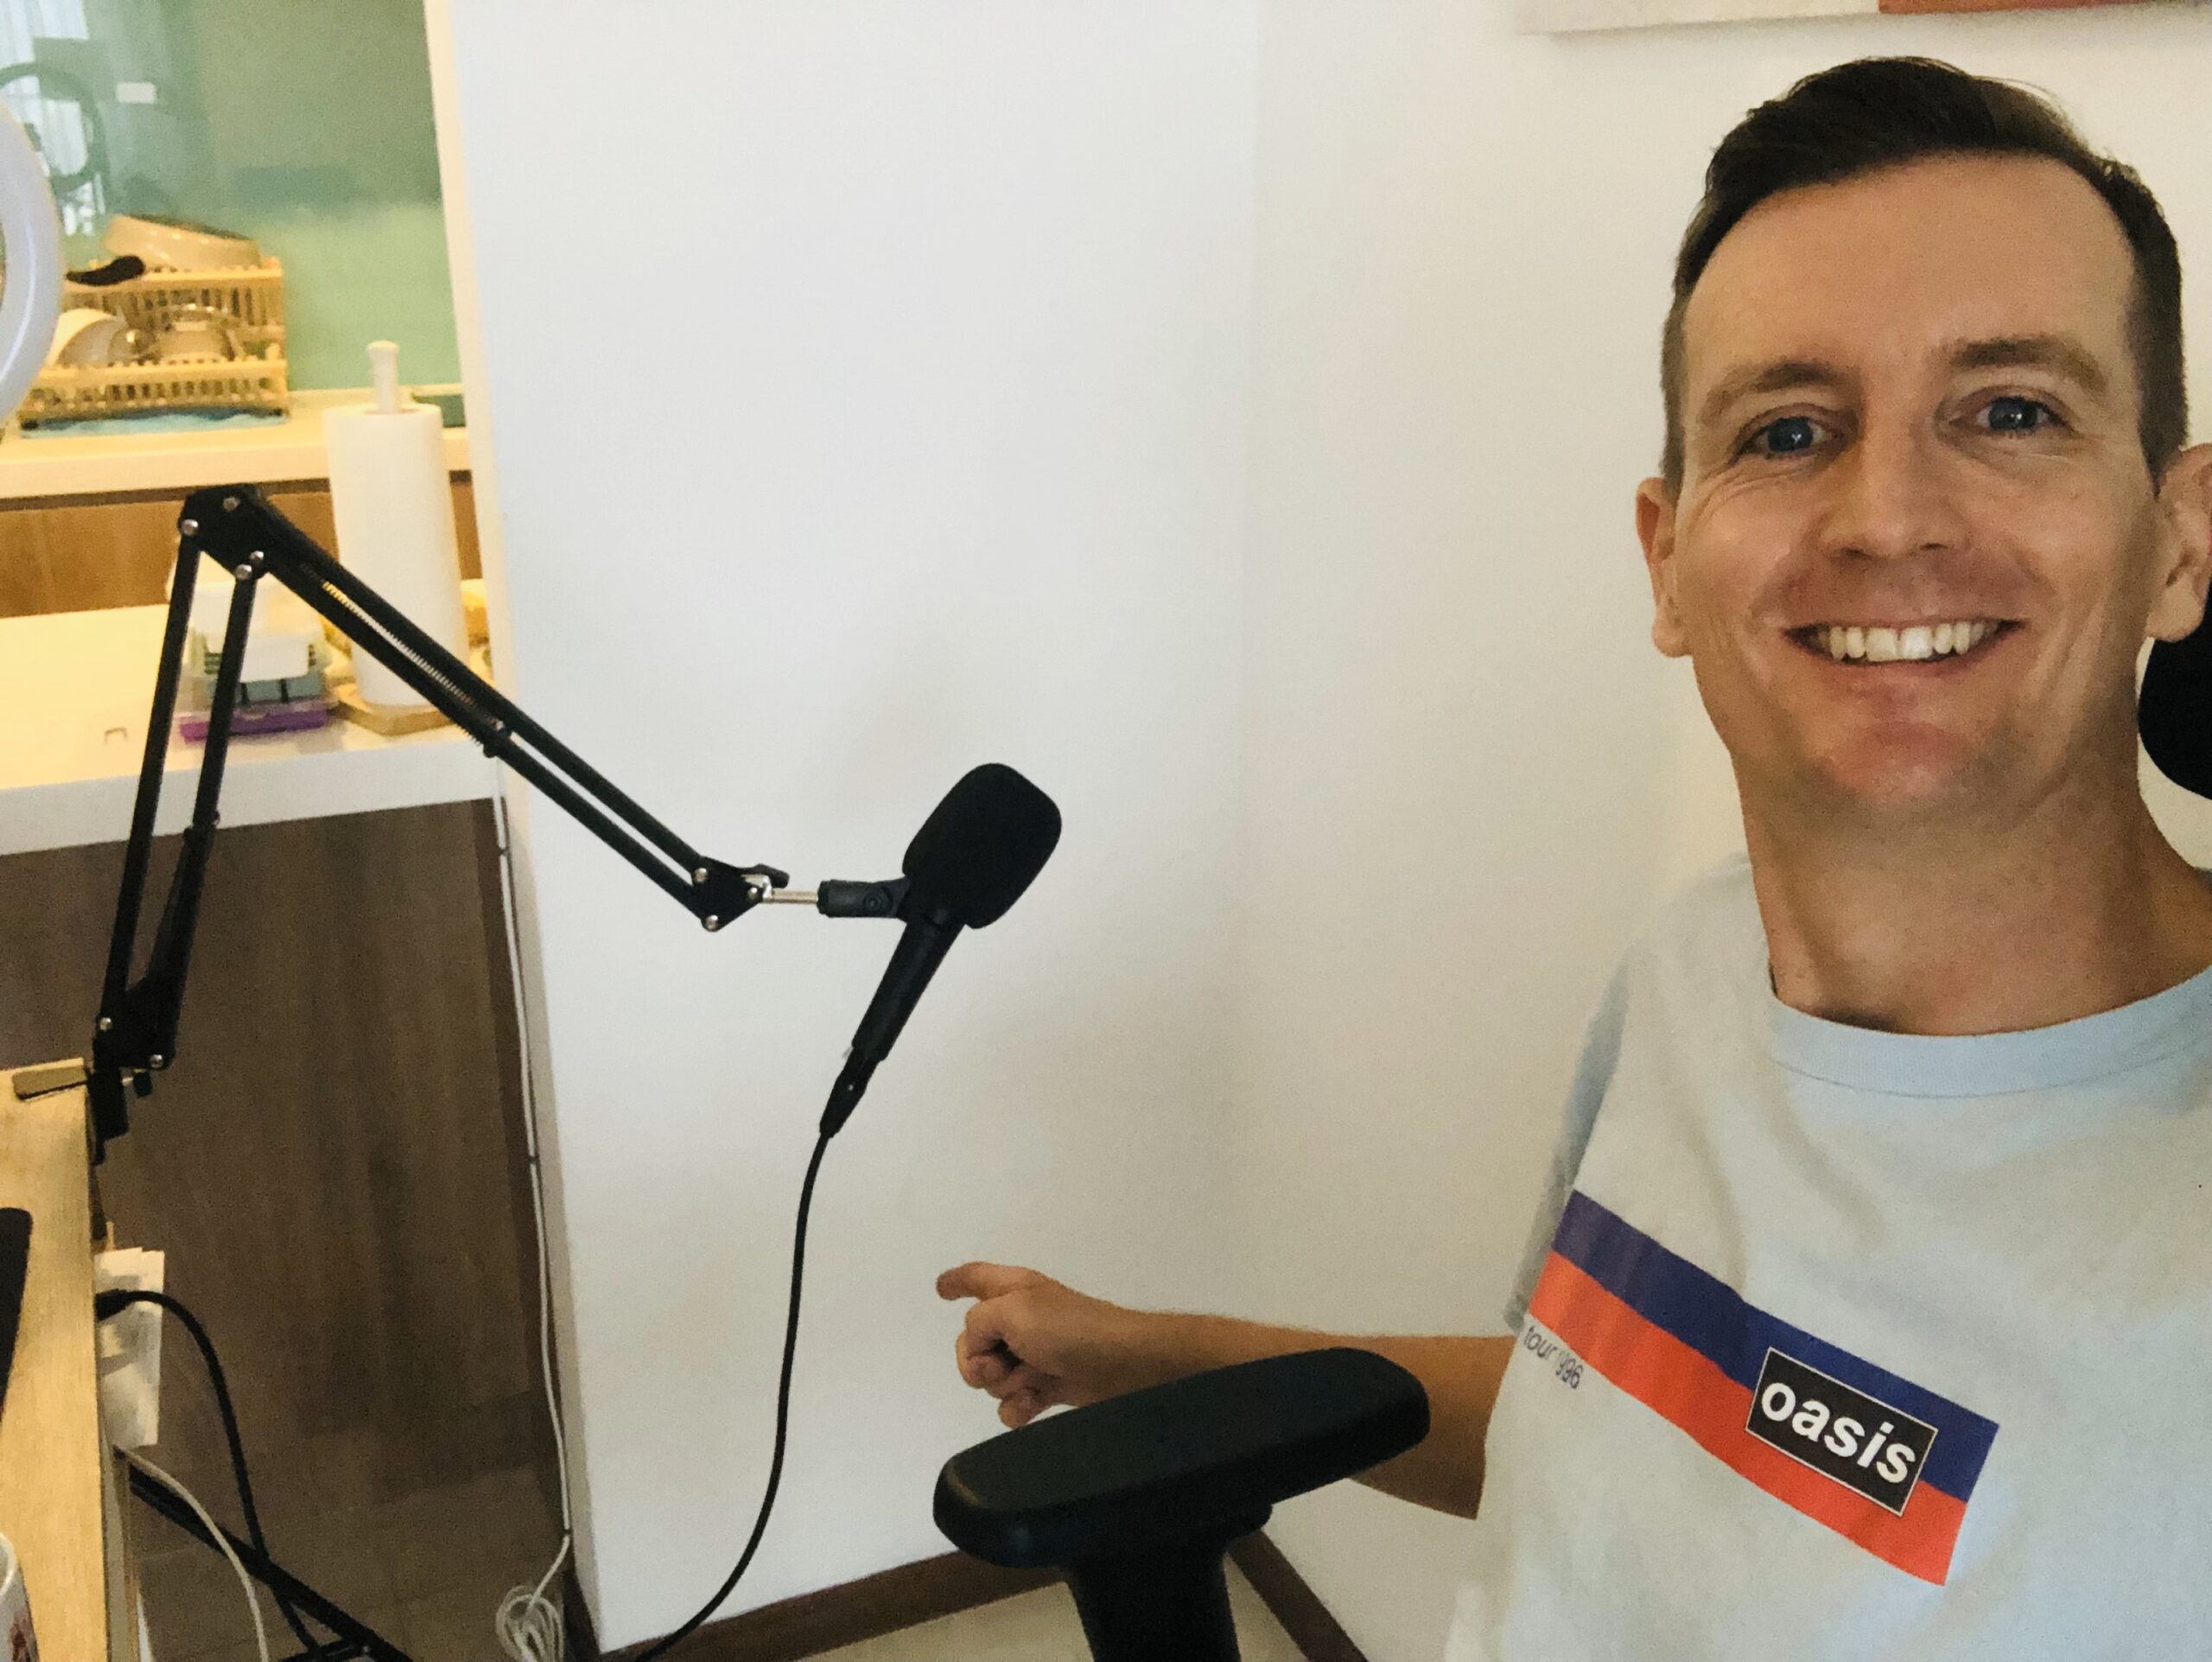
An audio interface connects your microphone to your computer or an audio recorder, giving a higher quality sound and providing more control over your recordings.
If you are building a podcast equipment bundle it is essential that you purchase an XLR mic.
I started with the Blue Yeti USB mic which was great at the time but picked up a lot of unwanted noise in the background. I then had to use an audio producer to create the best podcast.
When I moved to an XLR mic my audio immediately increased.
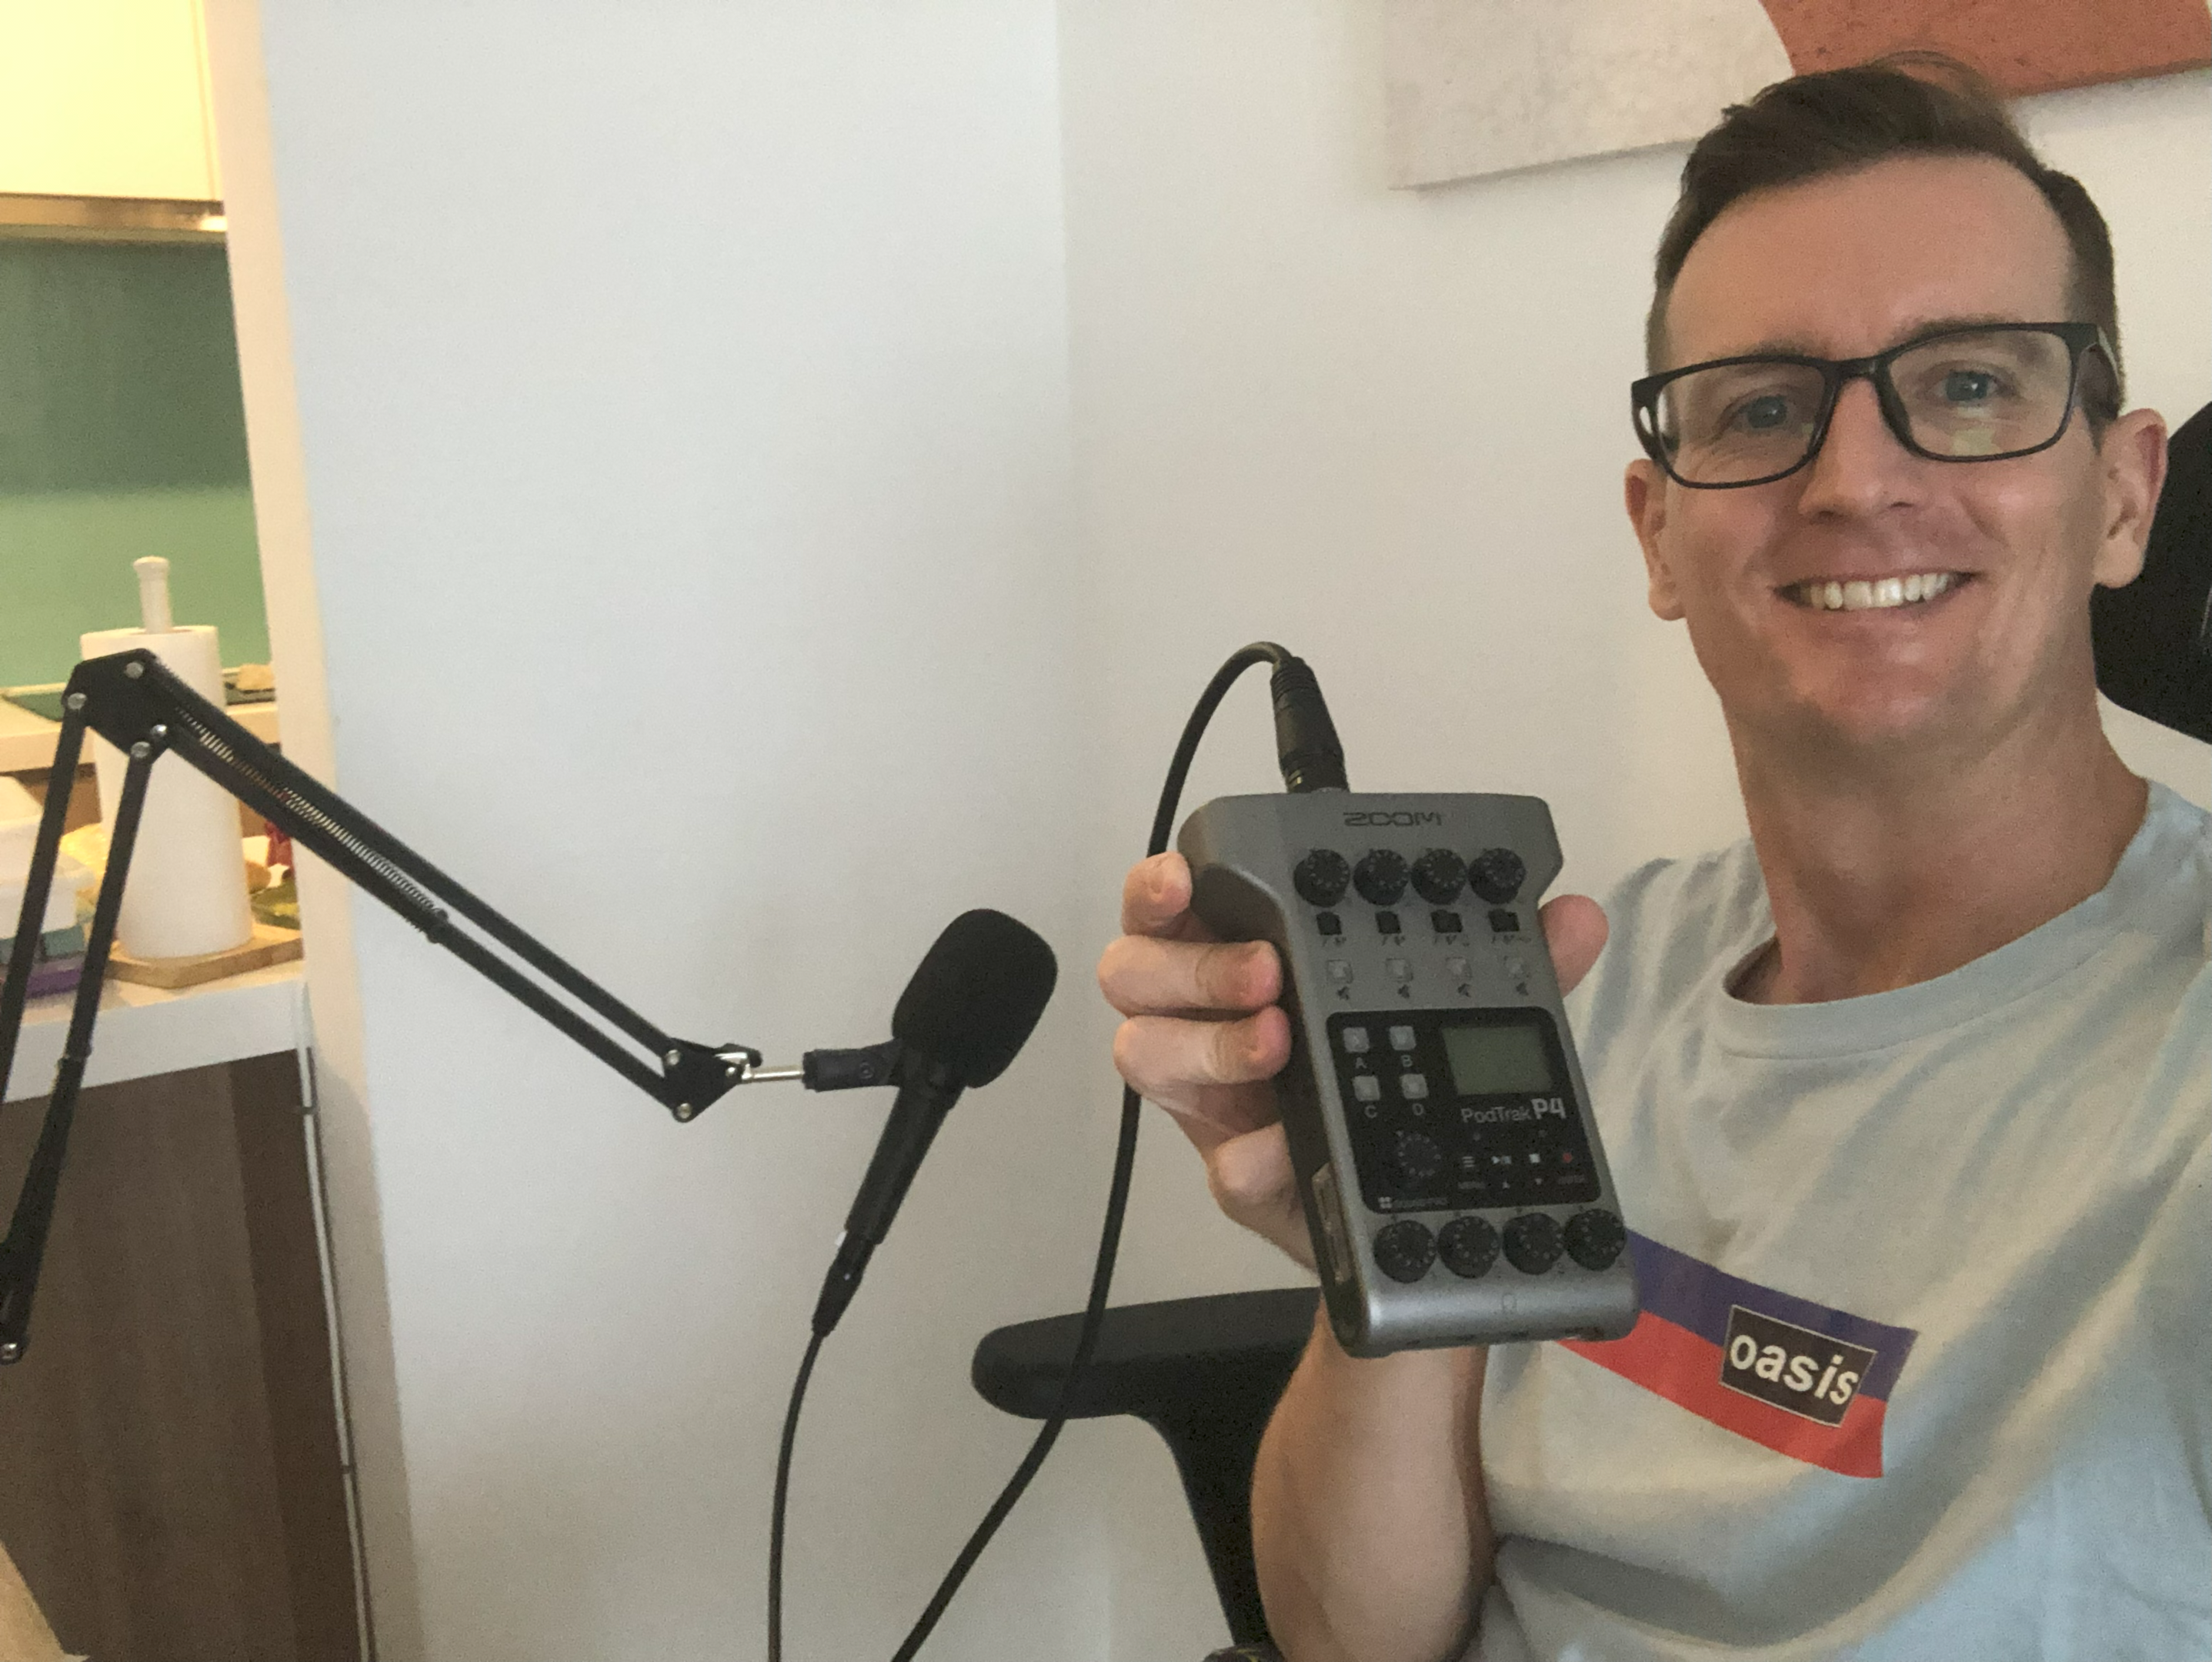
I bought the PodTrak P4 to connect my mic (or mics) directly to Descript.
The PodTrak P4 is a compact and feature-packed audio interface designed specifically for podcasters. With four XLR microphone inputs, headphone outputs, and onboard mixing capabilities, it offers great versatility for multi-host podcasts or interviews.
Pros
- The P4 features high-quality microphone preamps and digital converters, delivering clear and professional-grade audio recordings.
- The P4 has a user-friendly interface with dedicated knobs and buttons for quick and easy adjustments. The touchscreen display provides clear visual feedback.
- The compact and rugged design makes it easy to transport and suitable for recording on the go.
- The P4 includes useful podcasting features like sound pads for playing jingles or sound effects, onboard editing, and multi-track recording capabilities.
- Great for remote interviews
Cons
- While the P4 offers four XLR inputs, it may not be sufficient for larger podcast setups that require more simultaneous microphone connections.
- The built-in editing and recording features are handy for basic podcast production, but more advanced podcasters may prefer using dedicated editing software for greater control.
The PodTrak P4 is a reliable and convenient audio interface that caters specifically to podcasters’ needs. Its compact size, intuitive controls, and excellent sound quality make it an excellent choice for beginner podcasters or those looking for a portable recording solution.
FIND OUT MORE: 7 AI Tools For Podcasts – Unleash the Power Of AI
6. XLR Cables
XLR cables are used to connect your XLR microphone to the audio interface. Ensure you have an XLR cable of appropriate length.
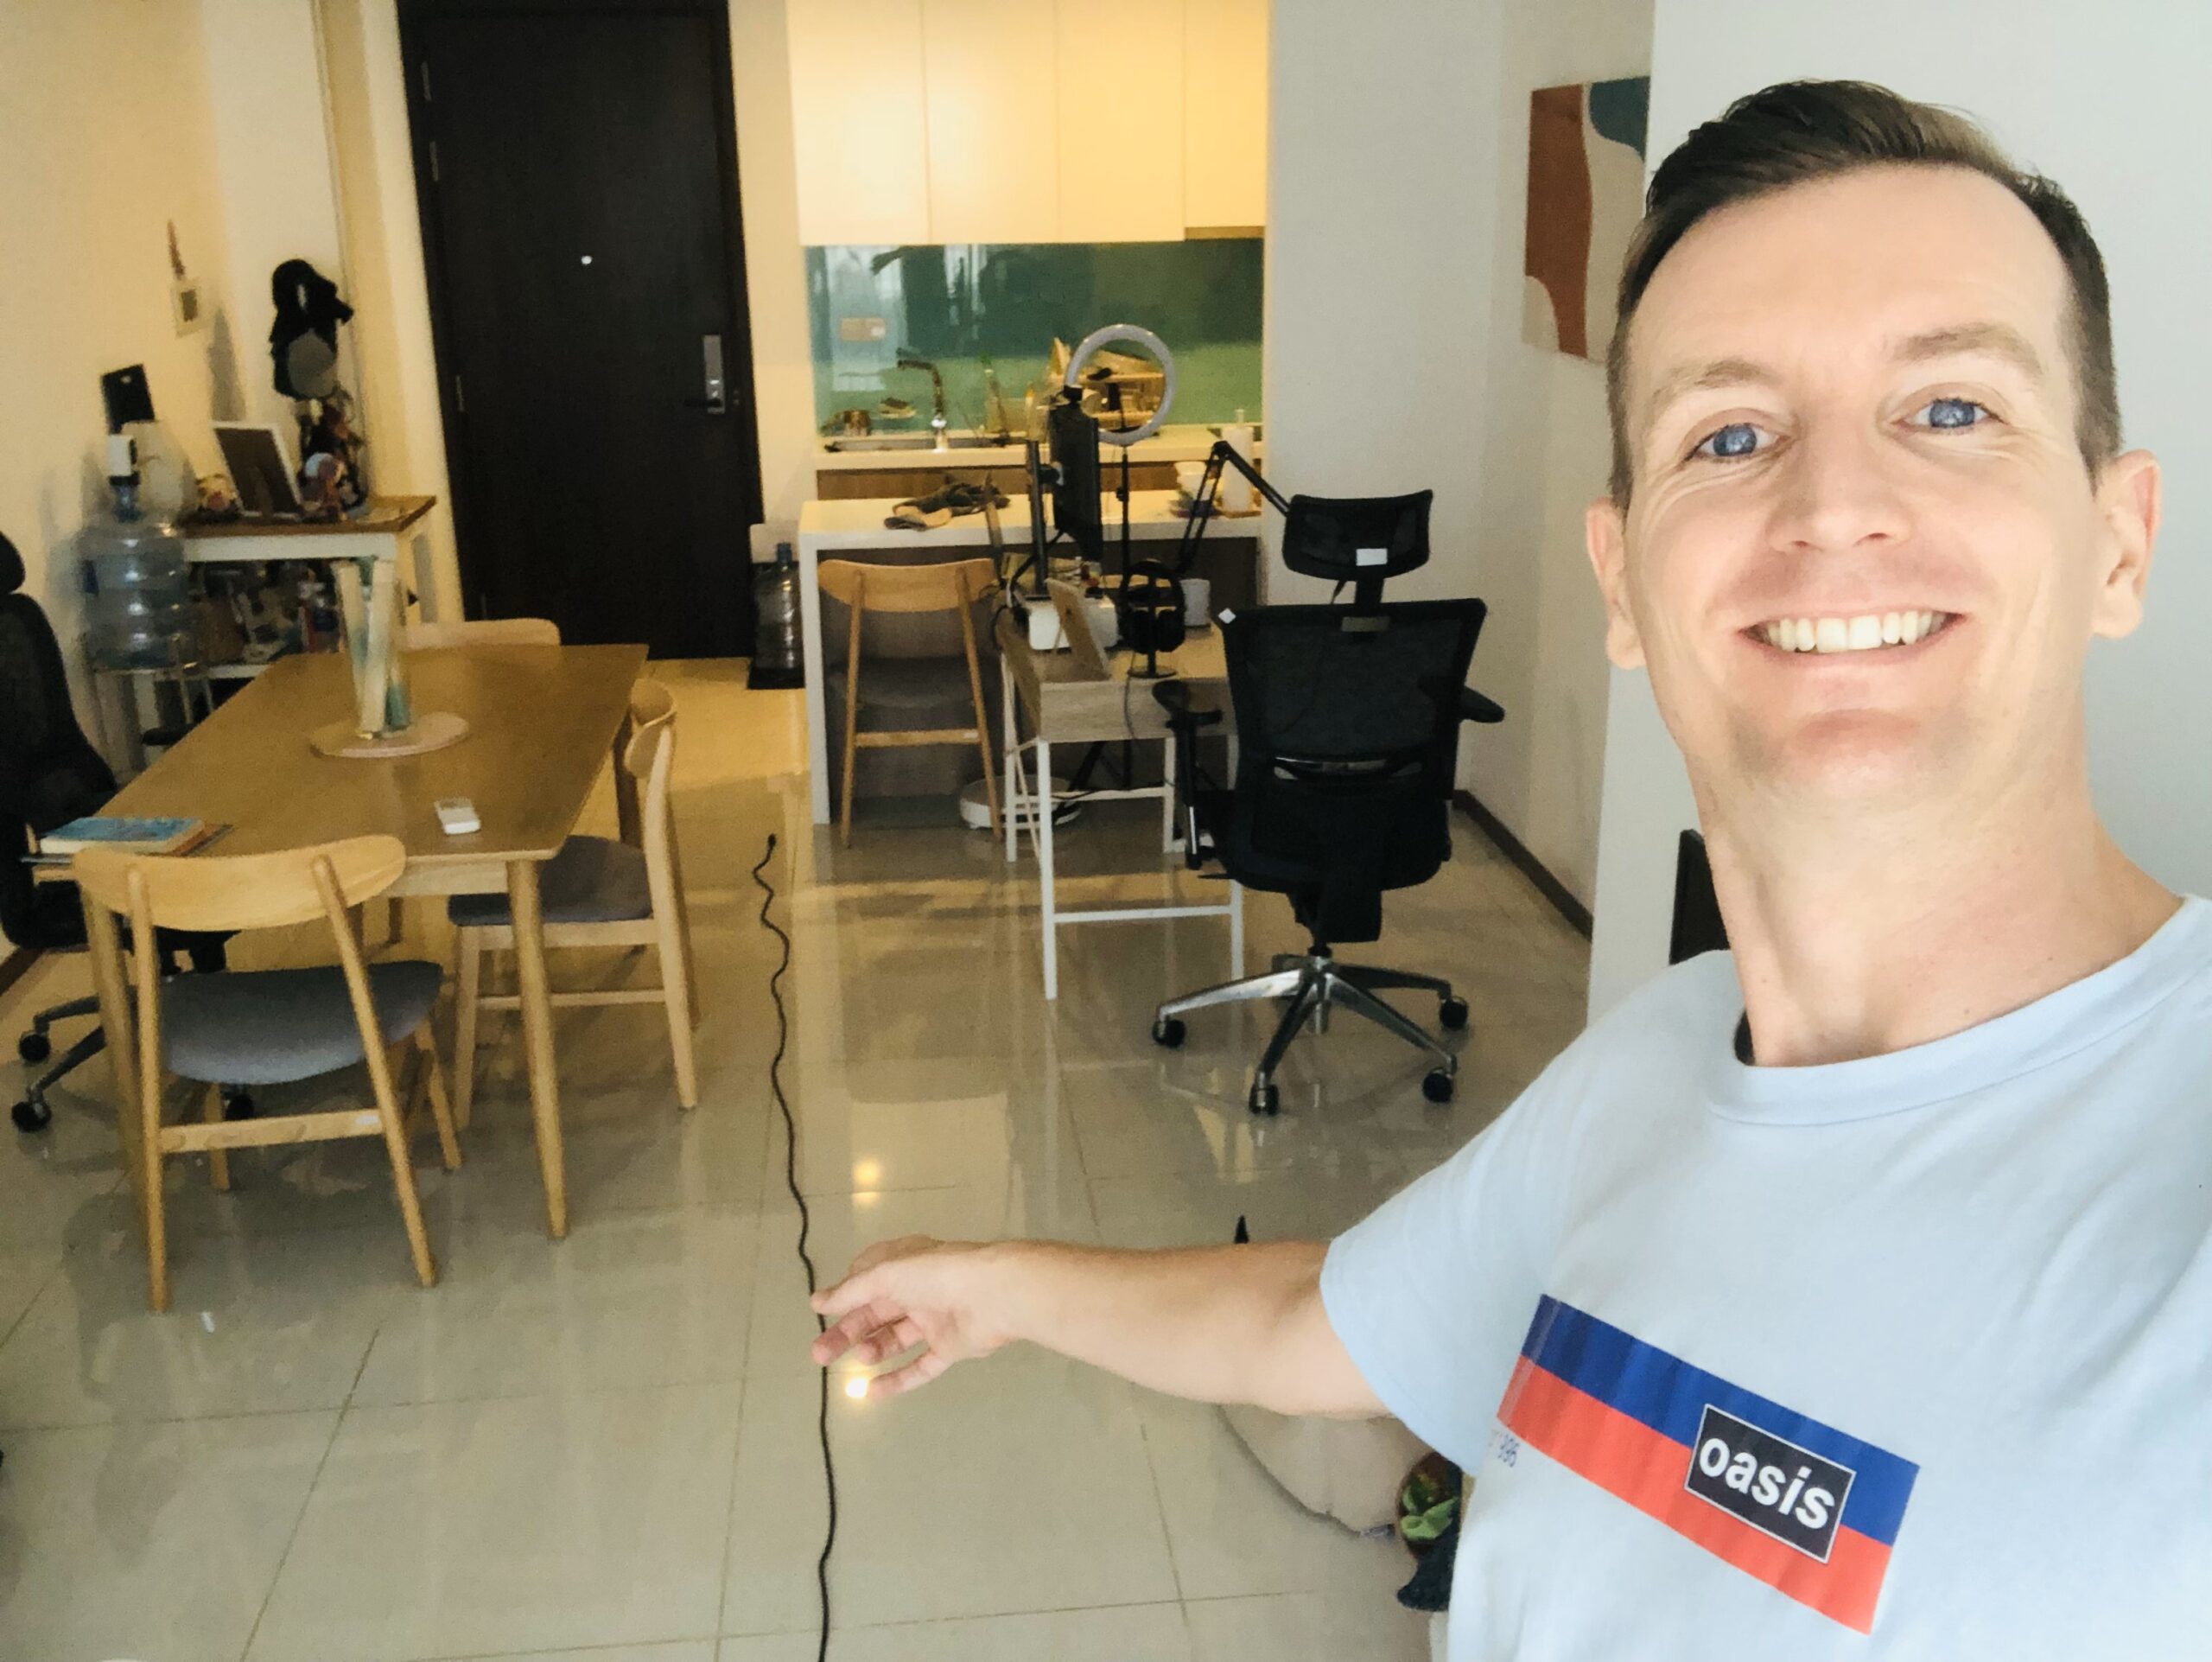
I have an XLR cable that is made for stage performances and is WAY too long. I recently got a 1m long XLR cable that is perfect for my needs.
7. Home recording studio or Acoustic Treatment
Since most independent podcasters don’t have the budget for a professional podcast studio we need to come up with other solution to produce high quality audio.
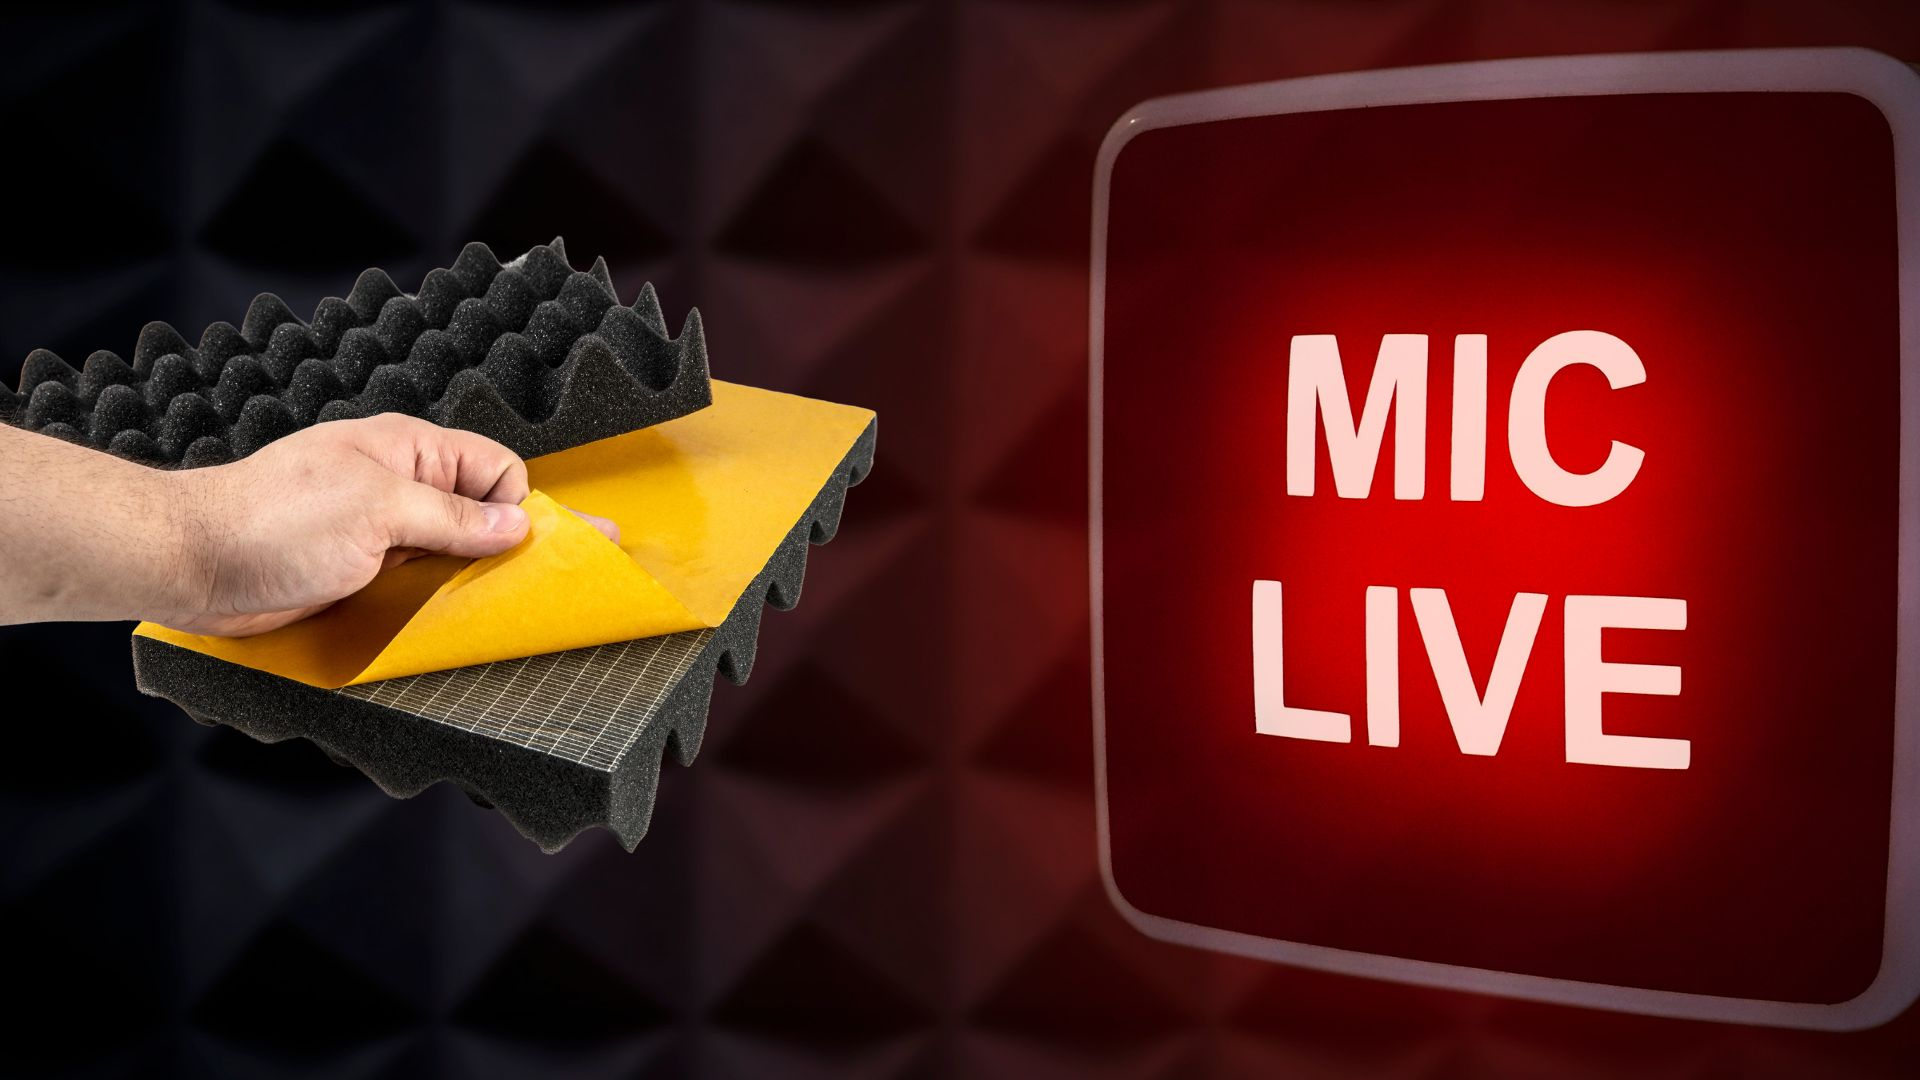
A home recording studio or acoustic treatment helps minimize unwanted echoes and reverberations in the recording process, creating a more controlled and professional sound environment. It is particularly crucial if you don’t have access to a dedicated soundproof room or studio.
To set up your studio, start by selecting a suitable space with minimal noise and distractions. This could be a spare room, home office or even a cupboard!
If you opt for acoustic treatment, it involves improving the sound quality within your recording space by reducing reflections and echoes.
This can be achieved through the use of acoustic panels or even sheets and blankets. Place the panels strategically on the walls, corners, and ceiling of your recording area to absorb and scatter sound waves effectively. And cover any shiny surfaces (think tiled floors, mirrors) with the sheets and blankets.
By investing in a home studio or implementing acoustic treatment, you can significantly enhance the audio quality of your podcast recordings. It helps create a more professional and controlled sound environment, reducing distractions and ensuring your listeners have a more enjoyable and immersive experience. Remember, proper setup and positioning are key to achieving the best results, so take the time to experiment and fine-tune your recording space accordingly.
Related Post: Podcast Setup Ideas For Beginners On A Budget
8. Audio Editing Software
When building your podcast starter kit you need to choose the right recording software.
To edit and enhance your amazing recording there are several pro tools that will help you when editing audio. available like Audacity (free), Adobe Audition, GarageBand (for Mac users), and my go-to Descript. A digital audio workstation (DAW) is one of the most important tools in your podcast setup.
Audio editing software allows podcasters to manipulate and enhance their recorded audio files. Even edit and record video.
With a digital audio workstation like Descript, you can perform a wide range of tasks such as trimming and cutting segments, adjusting volume levels, removing background noise, applying audio effects, enhancing the sound and adding music or sound effects.
It provides a user-friendly interface with intuitive controls, enabling you to edit and refine your podcast episodes with precision.
Whether you need to clean up audio imperfections, create seamless transitions, or add professional polish to your recordings, audio editing software is an essential tool that empowers podcasters to produce high-quality and engaging content.
Read how to easily edit your podcast with Descript here.
Related Post: Audacity vs Garageband: What To Use For Podcast Editing
9. Podcast Hosting Service
A podcast hosting service is an online platform that allows podcasters to store, distribute, and manage their podcast episodes. It provides the necessary infrastructure to host your audio files and generates an RSS feed, which is essential for podcast distribution to various podcast directories and platforms.
Controversial opinion, but if you don’t have an RSS feed you don’t have a podcast! That means if your ‘podcast’ is only on YouTube it’s not a podcast!! Sorry, not sorry.
Now I got that out of the way.
As a podcast beginner, you need a hosting service to ensure that your podcast episodes are accessible to your audience. These services handle the technical aspects of podcasting, such as file storage, bandwidth, and podcast syndication, making it easier for you to focus on creating content. They also provide analytics and statistics to track your podcast’s performance, enable monetization options, and offer tools for promoting and growing your podcast.
By using a podcast hosting service, you ensure that your podcast episodes are delivered reliably to podcast platforms like Apple Podcasts, Spotify, and Google Podcasts, expanding your reach and visibility. Additionally, hosting services often provide embeddable players, episode scheduling, and other features that enhance the listener experience and streamline podcast management.
A podcast hosting service is crucial for a beginner podcaster as it simplifies the technical aspects of podcast distribution, offers valuable insights into audience engagement, and provides the necessary tools to grow and monetize your podcast effectively.
FIND OUT MORE: 10 best podcast hosting services for your podcast budget.

10. Computer
Obviously you will need a computer and most of you will already have one.
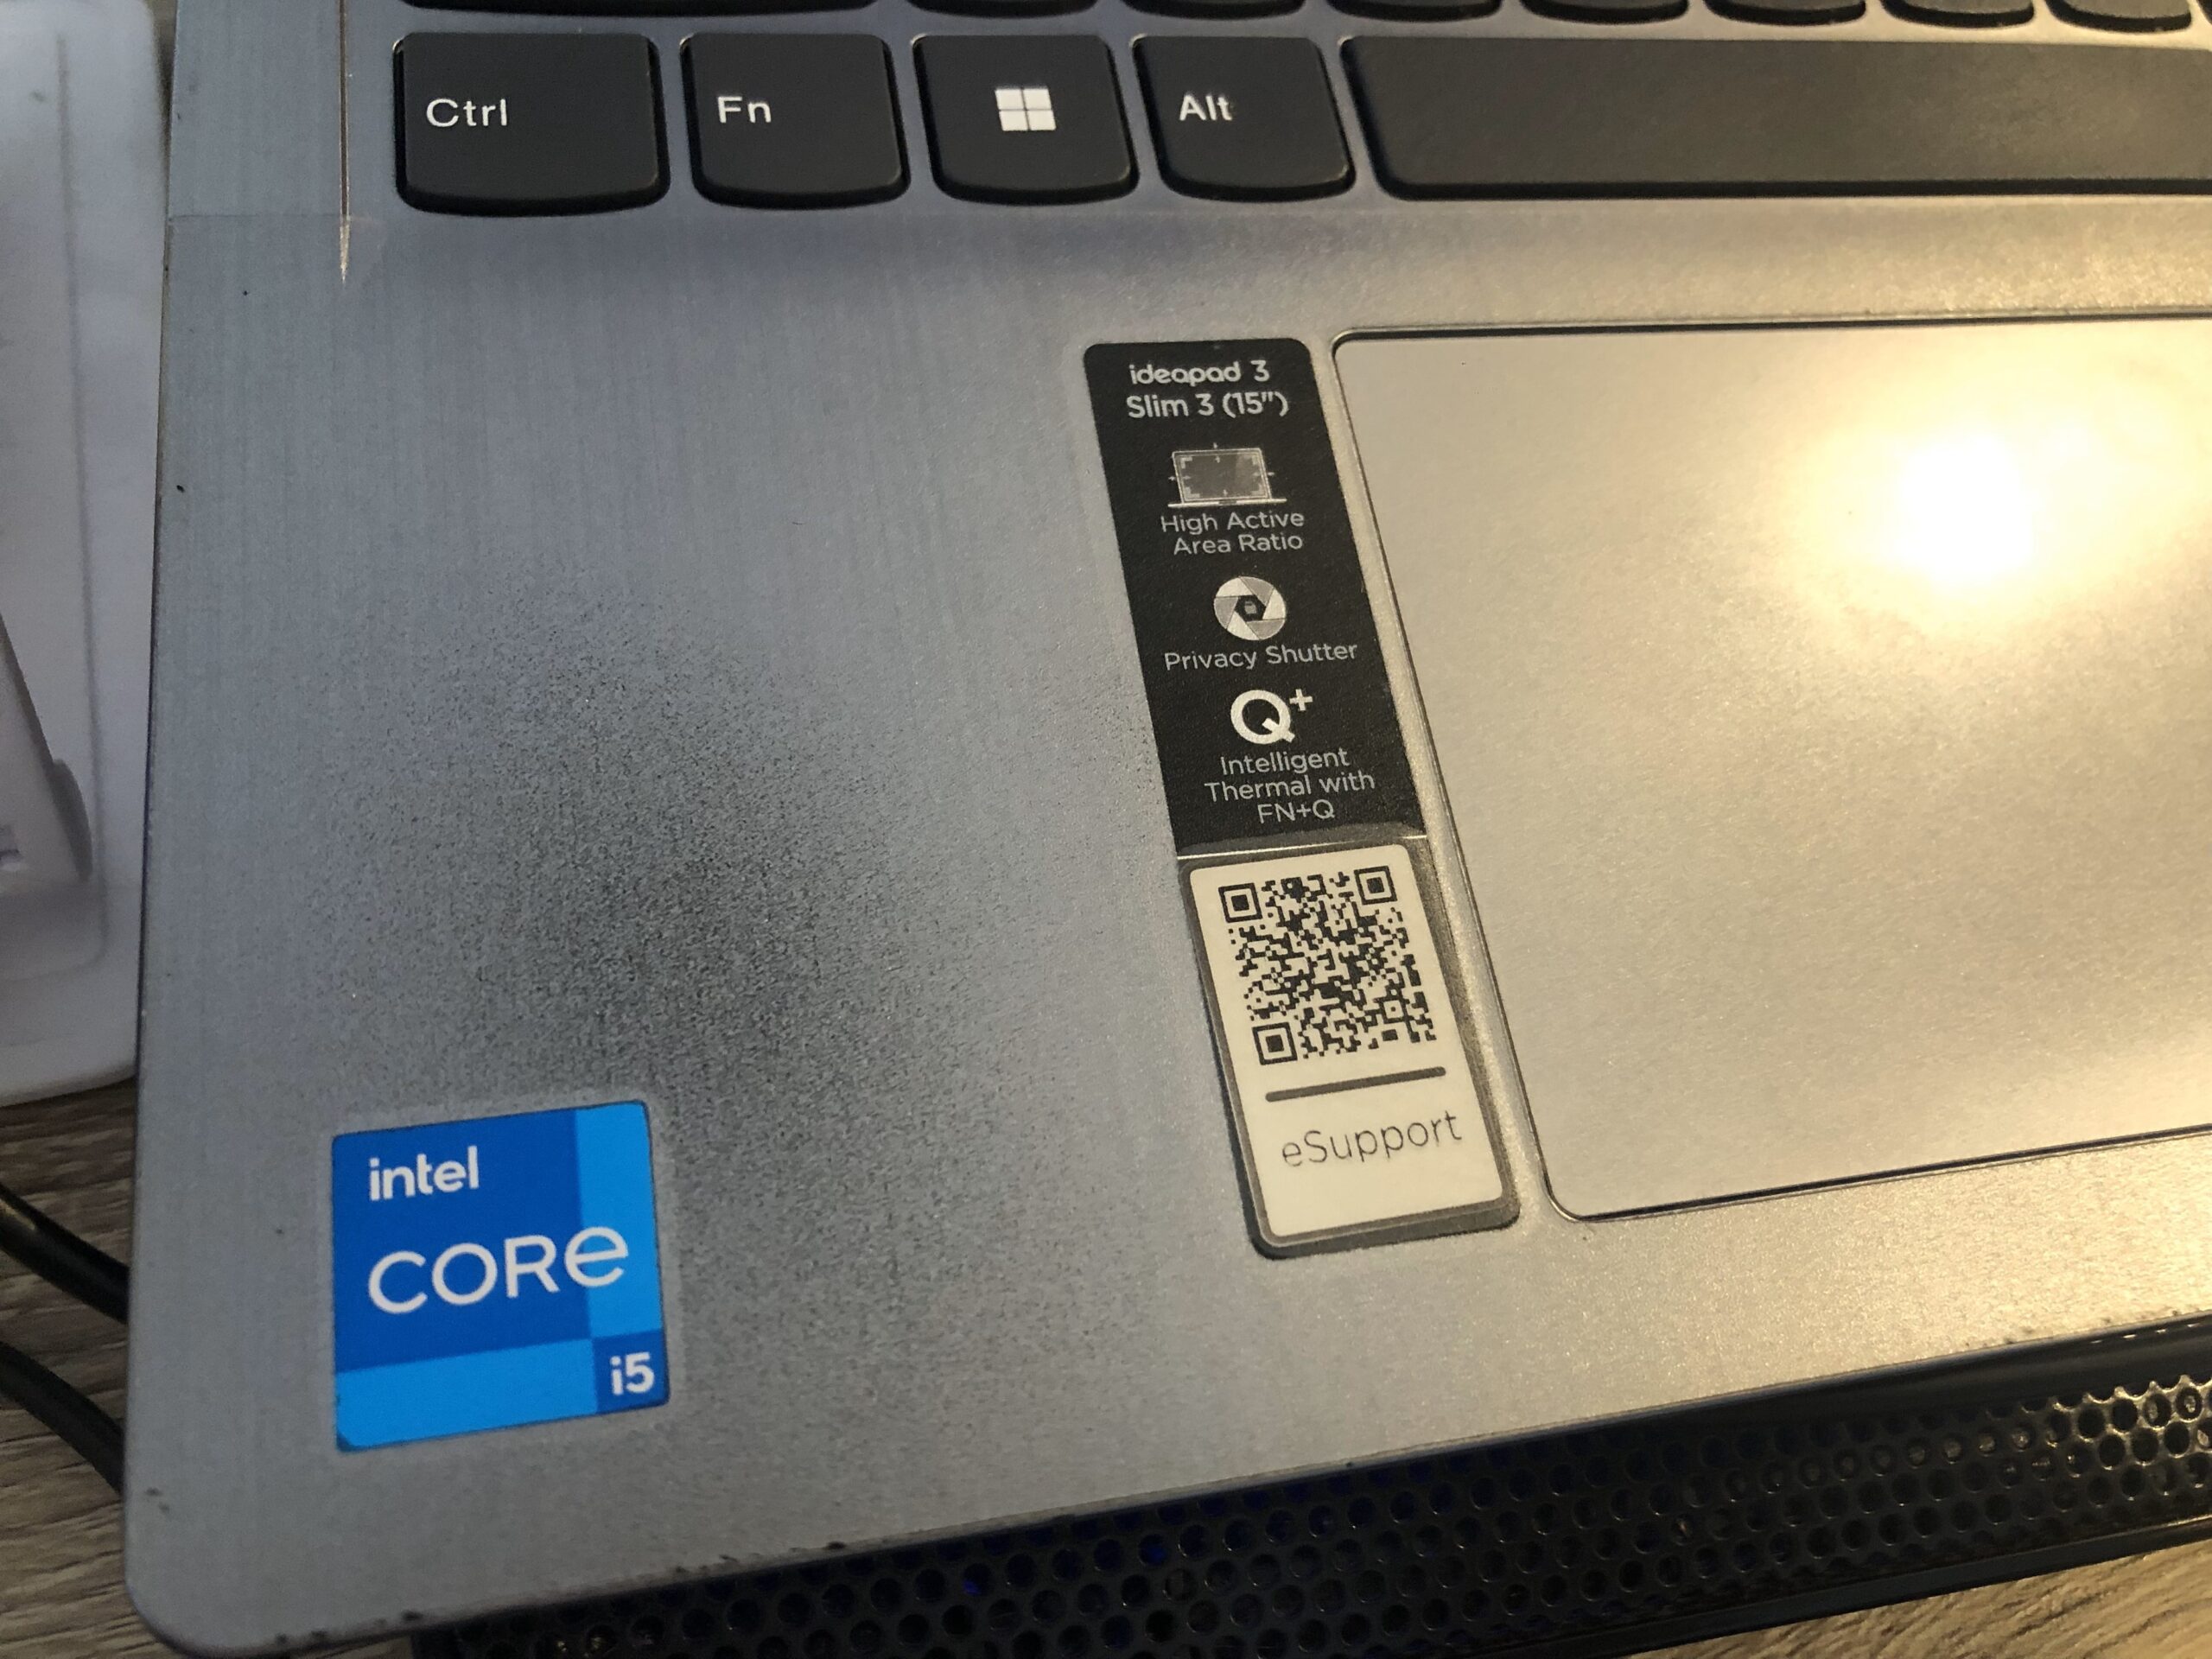
As a beginner podcaster, it is crucial you have the right computer for ensuring a smooth and efficient podcasting experience. Here are some considerations when selecting a computer for podcasting.
- Processing Power: Look for a computer with sufficient processing power to handle audio recording, editing, and exporting without slowing down. A multi-core processor, such as an Intel Core i5 or i7, is recommended to handle the demands of audio processing software.
- Memory (RAM): Opt for a computer with ample RAM, preferably 8 GB or more. Sufficient RAM allows for smooth multitasking, especially when running resource-intensive audio editing software alongside other applications.
- Storage: Adequate storage is essential for storing your podcast episodes, raw audio files, and editing projects. A solid-state drive (SSD) is recommended for faster file access and smoother performance.
- Connectivity: Ensure that the computer has enough USB ports to connect your audio interface, microphone, headphones, and other peripherals. Additionally, check for other ports such as HDMI or Thunderbolt if you plan to connect external displays or recording equipment.
- Operating System: Choose between Windows, macOS, or Linux based on your familiarity and preference. Consider the compatibility of your chosen audio editing software and other podcasting tools with the operating system.
- Portability: If you plan an on-the-go recording or outside of your usual recording space, a laptop offers the flexibility and mobility you need. Look for a lightweight and durable option that meets the necessary specifications.
Remember, podcasting involves recording, editing, and processing audio, which can be resource-intensive tasks. While a high-end computer is not always necessary for beginners, having a computer with decent processing power, sufficient RAM, and ample storage will ensure a smooth podcasting workflow.
Take your budget into account, weigh your needs, and choose a computer that strikes a balance between performance and affordability.
Related Post: 10 Tips For Success – What Makes A Good Podcast In 2023
Podcast Equipment For Beginners Conclusion
As a beginner podcaster, having the right podcast equipment is essential for launching a successful podcast.
The ten tools we’ve discussed in this guide – microphone, pop filter, headphones, boom arm or mic stand, shock mount, audio interface, audio editing software, podcast hosting service, home studio or acoustic treatment, and a reliable computer – form the foundation of a professional and high-quality podcasting setup.
Investing in some quality podcast equipment ensures that your podcast sounds professional and engaging, capturing the attention of your audience. From capturing clear and crisp audio with a good microphone to editing and enhancing your recordings with audio editing software, each tool plays a crucial role in delivering a seamless podcasting experience.
Additionally, utilizing a podcast hosting service allows you to distribute your episodes across various platforms and gain valuable insights into your podcast’s performance. Creating a comfortable and acoustically treated recording environment creates higher quality audio and reduces unwanted background noise.
Remember, starting a podcast can be a thrilling and rewarding journey, and having the right tools sets you up for success. While these tools may require some initial investment, they contribute significantly to the overall professionalism and impact of your podcast.
So, don’t be afraid to take the leap and equip yourself with the necessary podcasting equipment. With dedication, creativity, and the right equipment, you can create a podcast that captivates listeners, builds a loyal community, and brings your unique voice and message to the world. Happy podcasting!
And it goes without saying… make sure you have a reliable internet connection!

Get Your Voice Out and Share Your Story
From planning your content to monetizing your podcast, Niall covers everything you need to know to create and grow your own successful podcast. And if you’re feeling overwhelmed by the technical side of things, don’t worry – Niall’s got you covered with his comprehensive course, Get Your Voice Out and Share Your Story.
But it’s not just about creating a podcast for Niall – it’s about making a difference. He’s helped businesses like Delta MV reach high-value customers and individuals like Dee share important stories through their own successful podcasts.
So if you’re ready to take the leap into the world of podcasting, follow Niall’s advice and listen to Smarter Podcasting. Have a look at our past projects for more inspiration and resources.
Don’t forget to subscribe to Niall’s shows for future episodes.
In the words of Niall Mackay himself, “My mission is to help you on your podcasting journey, whether you’re at the beginning, the middle, or the end. So I hope these episodes can provide lots of interesting information for you.”
Thanks for listening to this brand new show, Smarter Podcasting. I’m Niall Mackay, the podcast guy and founder of Seven Million Bikes Podcasts.
I’m a podcast fanatic, stand-up comedian, and teacher. My mission is to help you on this podcast journey with me!
Don’t let fear, lack of knowledge, or technical barriers hold you back any longer. Take the first step towards creating a successful podcast that reaches and resonates with your audience.
With my comprehensive course, you’ll learn everything you need to know about starting, recording, editing, and publishing your podcast. Plus, you’ll gain access to exclusive tips, tricks, and strategies that will help you stand out from the crowd and grow your audience.

Achievements
2019
Year established
16
Podcasts
50,000+
Downloads
Top 10%
Worldwide


